
AeroCool has been around for quite a while now, manufacturing everything from cases and fans to coolers, PSUs, and more. One of its most recent releases is the AeroCool ThunderX3 Cronus ARGB mid-tower case. The eye-catching case is the first under the company’s esports-centric ThunderX3 sub-brand, which has previously only come out with gaming chairs, tables, peripherals, and more. Originally unveiled back in late 2020, the Cronus has since been released in several territories throughout last year.
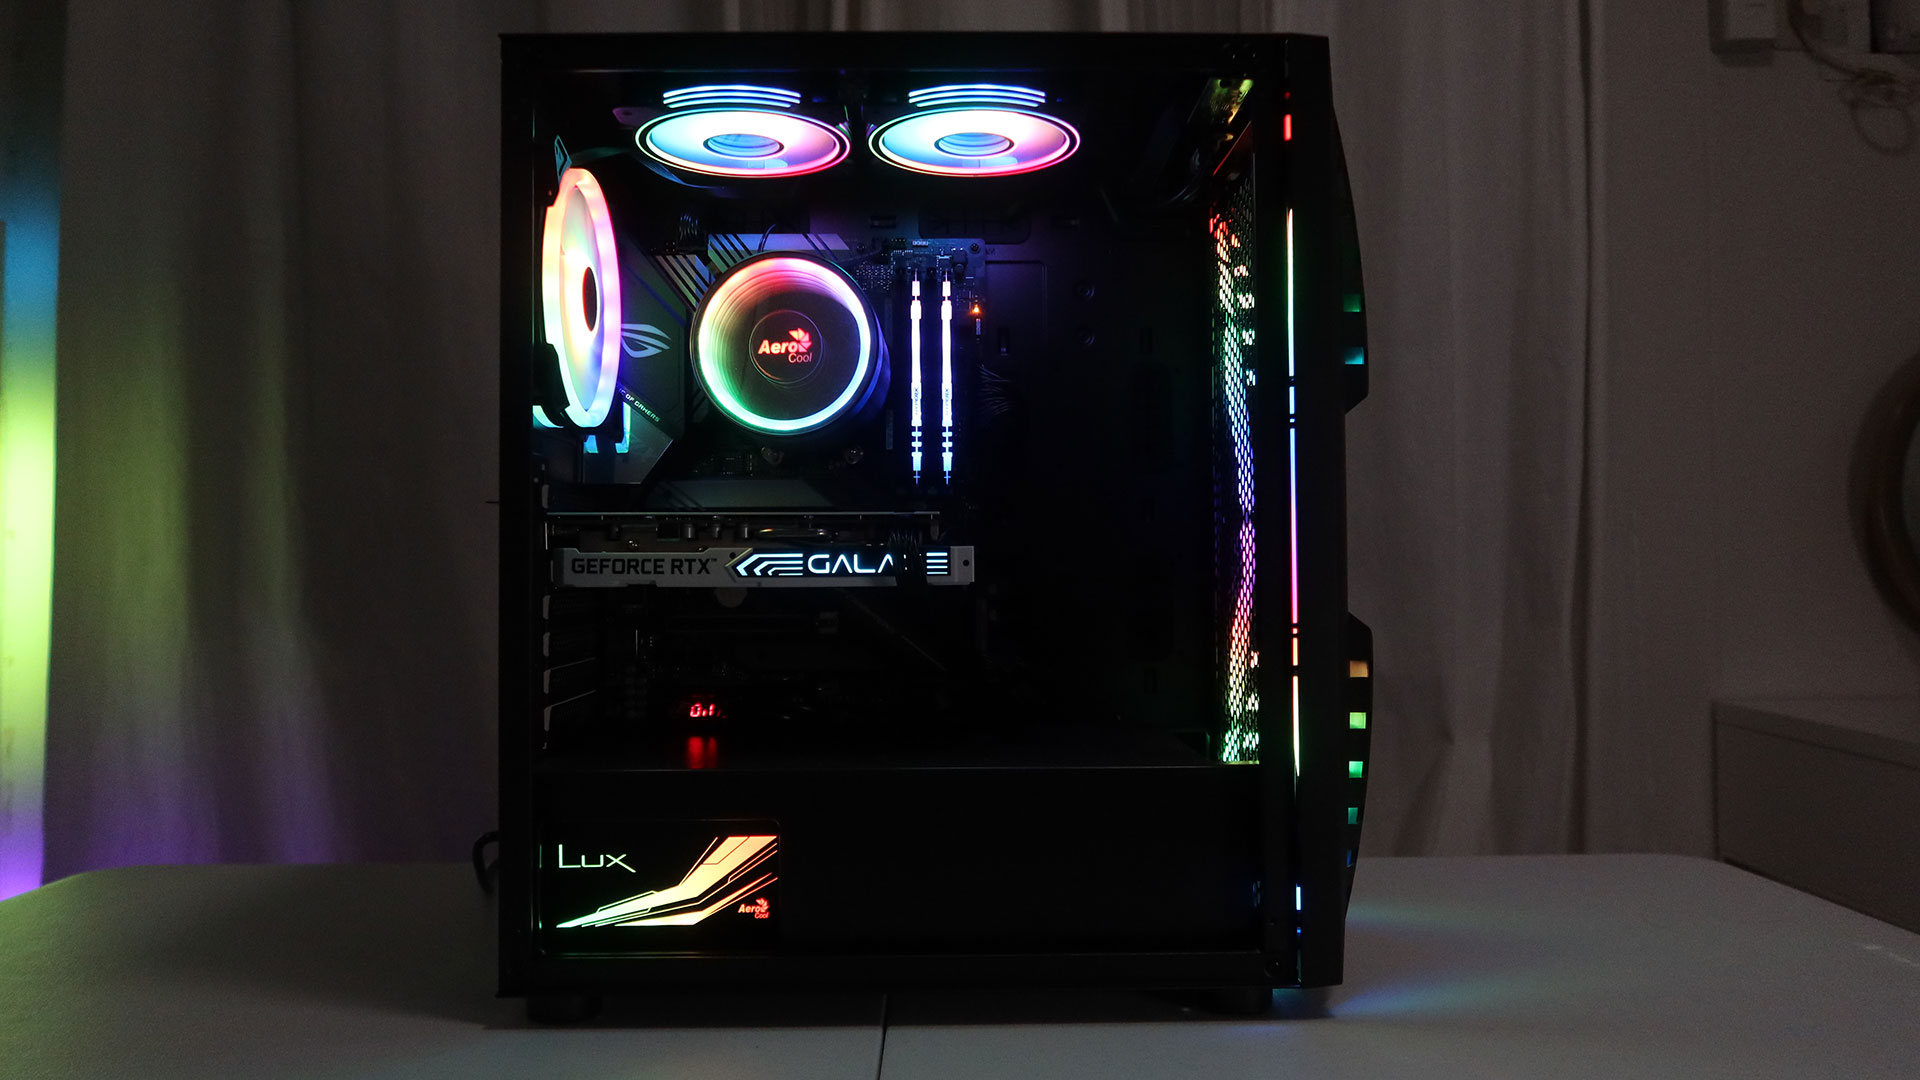
The AeroCool ThunderX3 Cronus is a mid-tower case that features a steel and ABS construction, support for up to E-ATX motherboards, built-in ARGB lighting on its strikingly-designed front panel, a tempered glass side panel, and more. It also includes a pre-installed 140mm ARGB fan at the rear of the case and a separate GPU bracket that supports both horizontally and vertically-positioned graphics cards.
Packaging and Inclusions
The Cronus comes in a typical plain cardboard box with the case itself protected by two large pieces of styrofoam and a plastic bag. It comes with the aforementioned GPU bracket as well as a user manual, five velcro cable straps, two cable routing tubes, and a plastic bag with screws and motherboard standoffs.
Exterior Features
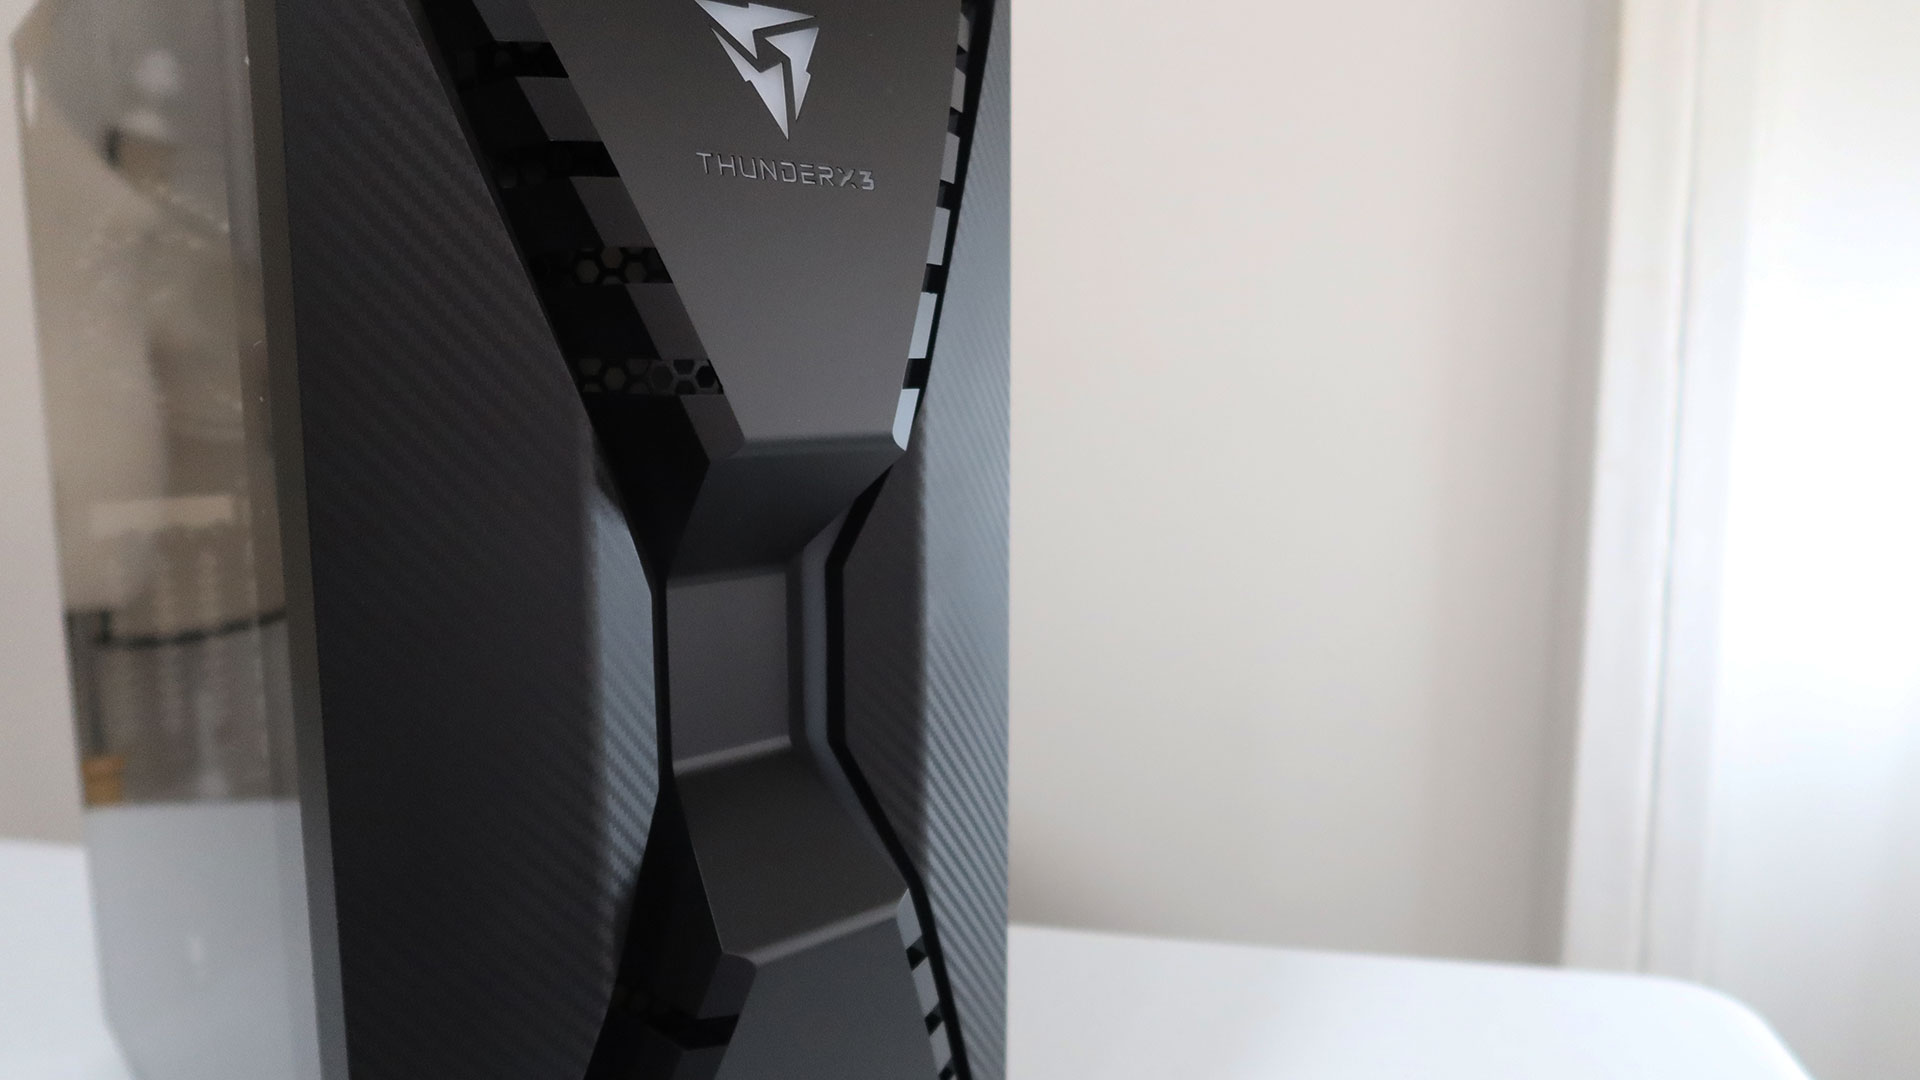
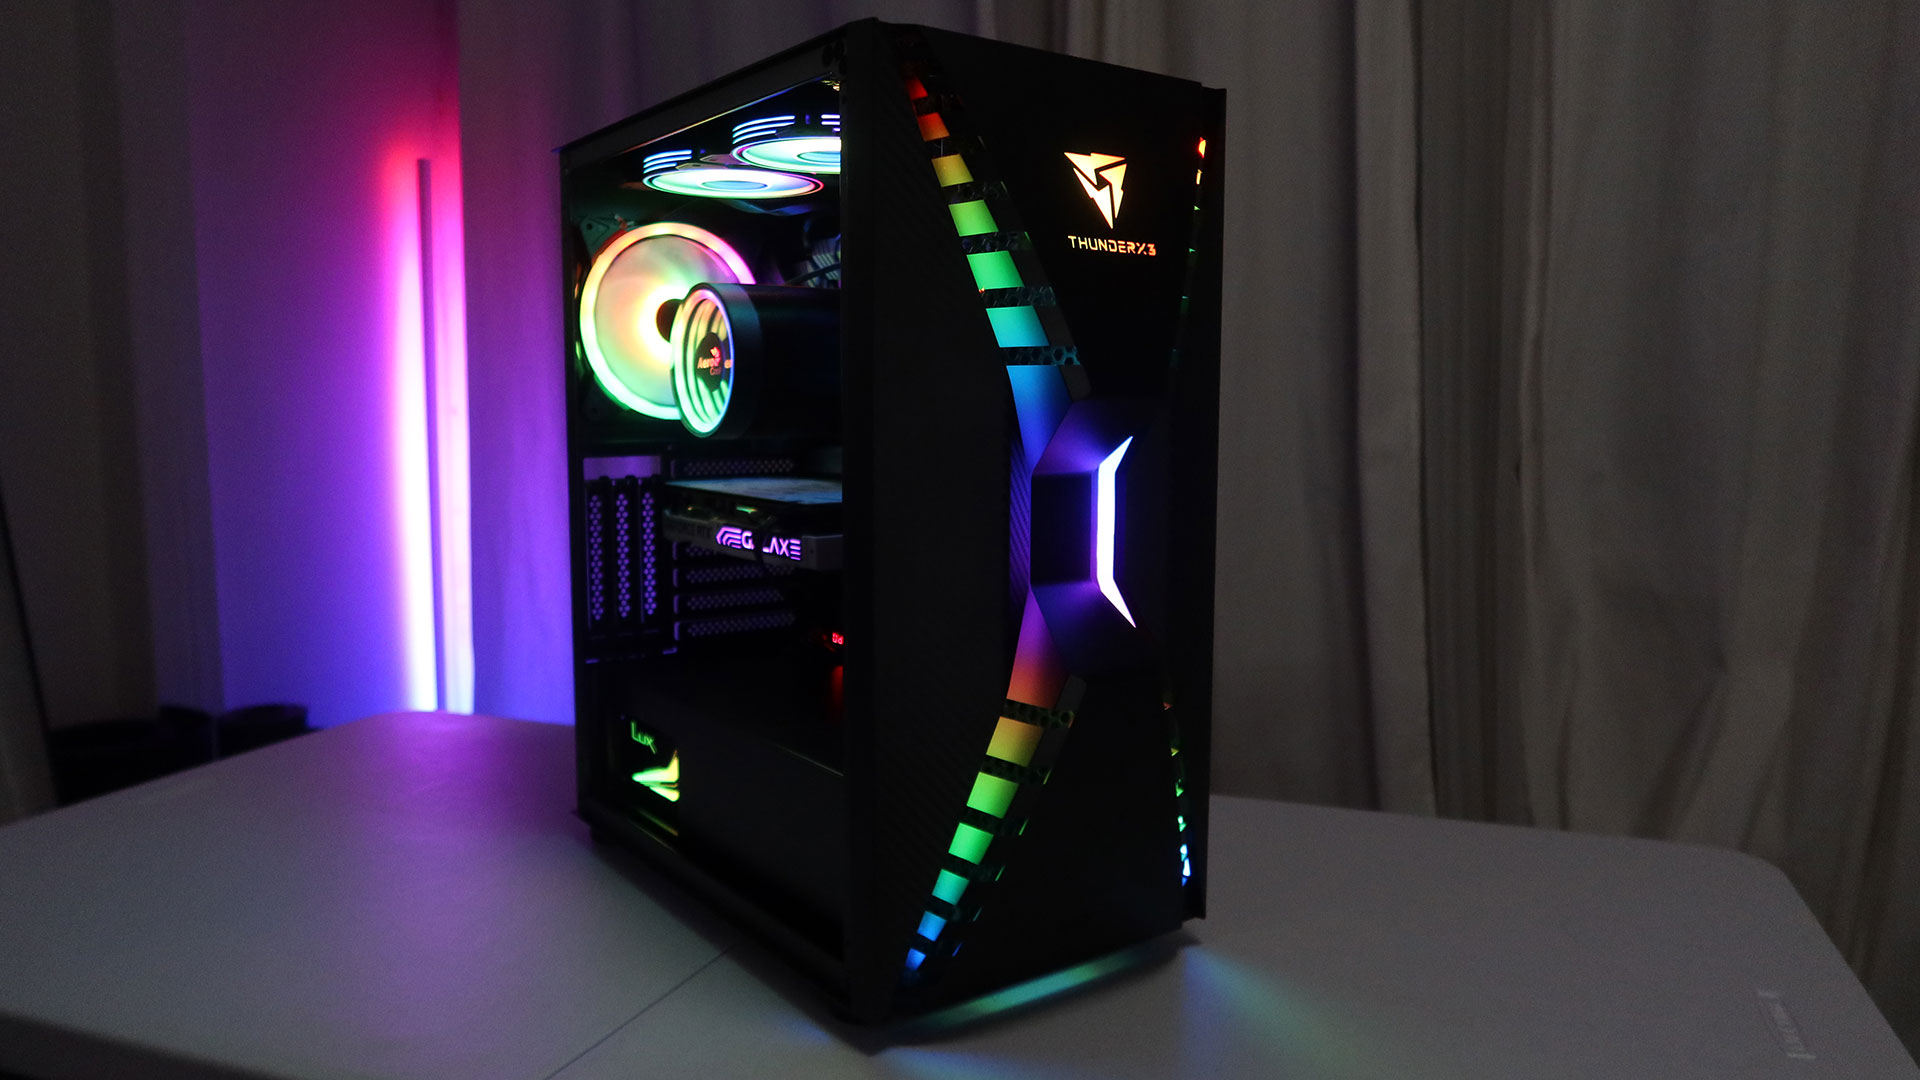
From first glance, the front panel of the Cronus is its most noticeable exterior feature. The front panel’s futuristic design is divided into three main sections that extend out from the case to form an “X” shape with the crevices between them. The “X” can be illuminated with the panel’s built-in ARGB LEDs along with the large ThunderX3 logo and branding near the top of the front panel. There’s a discreet AeroCool logo stamped near the bottom of the front panel.

The left and right sections of the front panel feature a diagonal pattern akin to carbon fiber while the middle section remains smooth. The middle section of the front panel also features cut outs along both of its sides for airflow. Unfortunately, there isn’t a dust filter behind the front panel so using it as an intake would mean users will have to regularly clean out the inside of the case to deal with the inevitable dust build up.
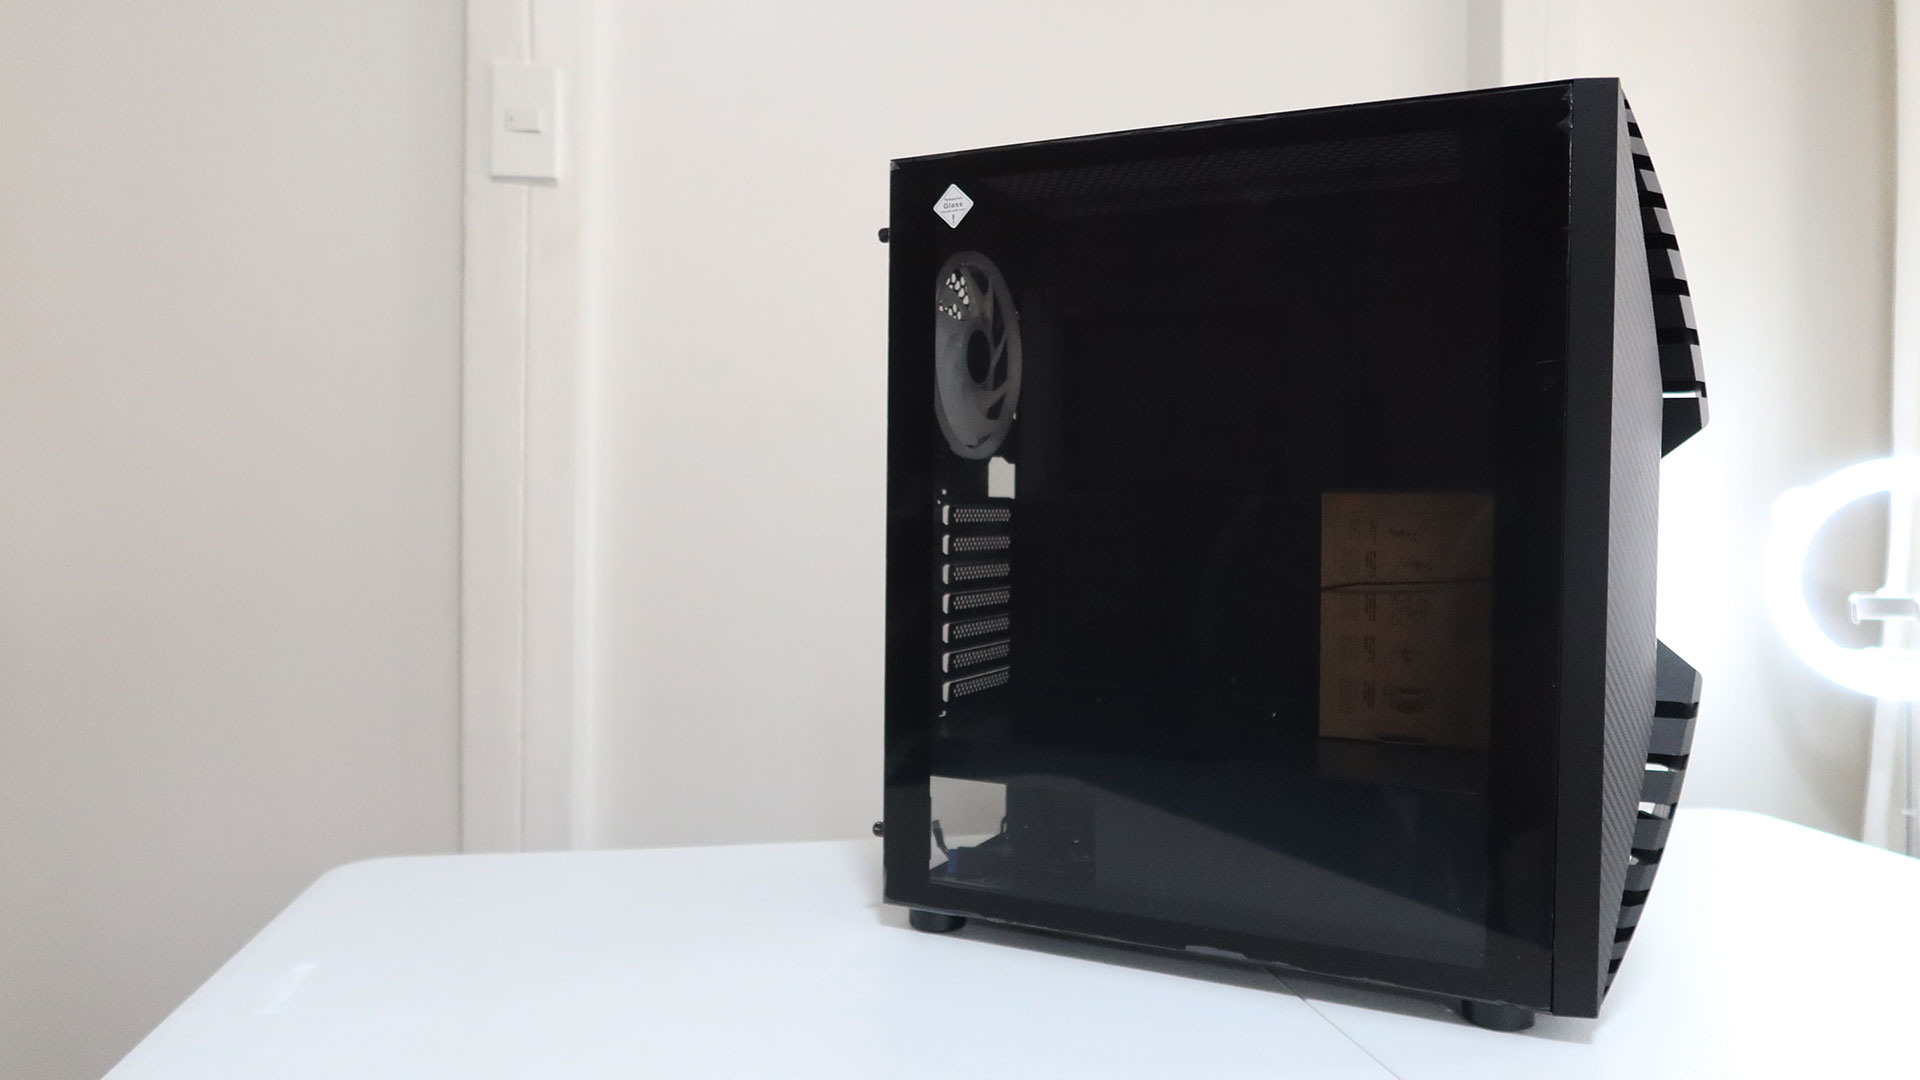
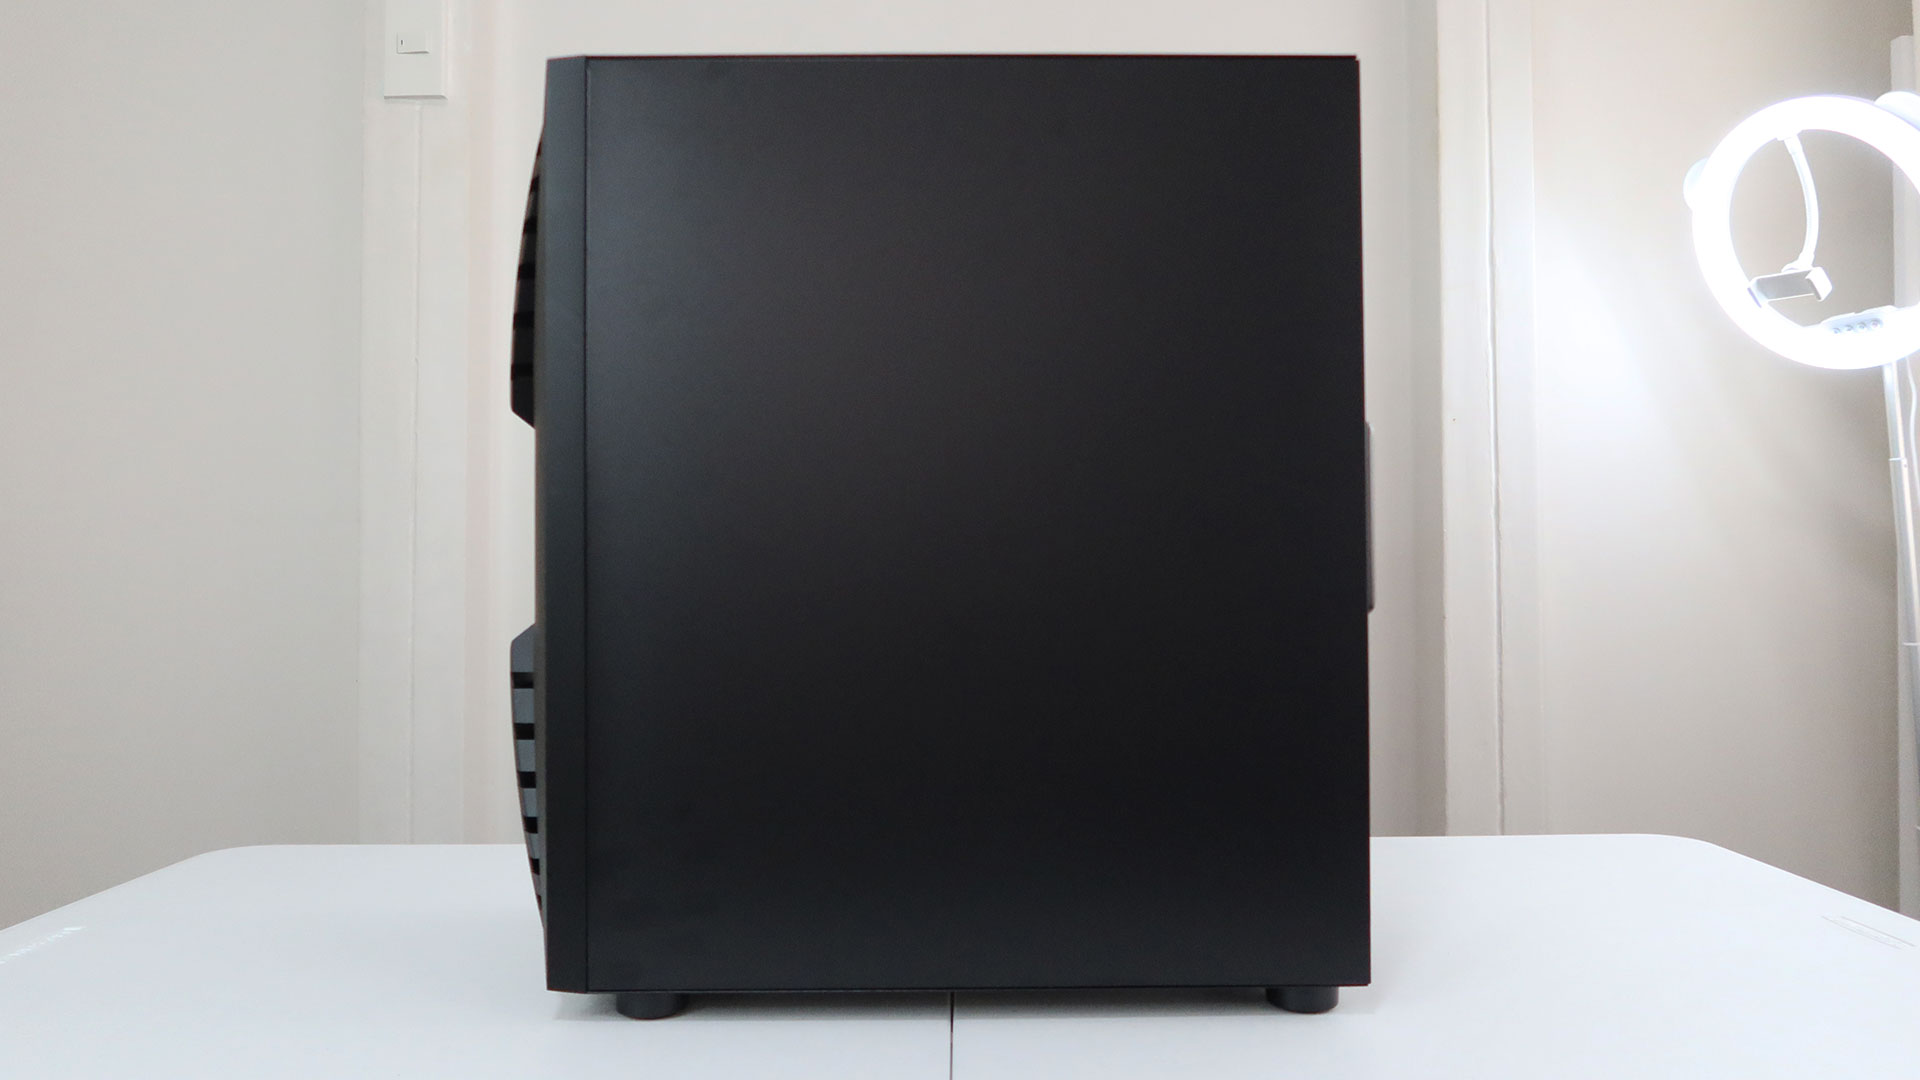
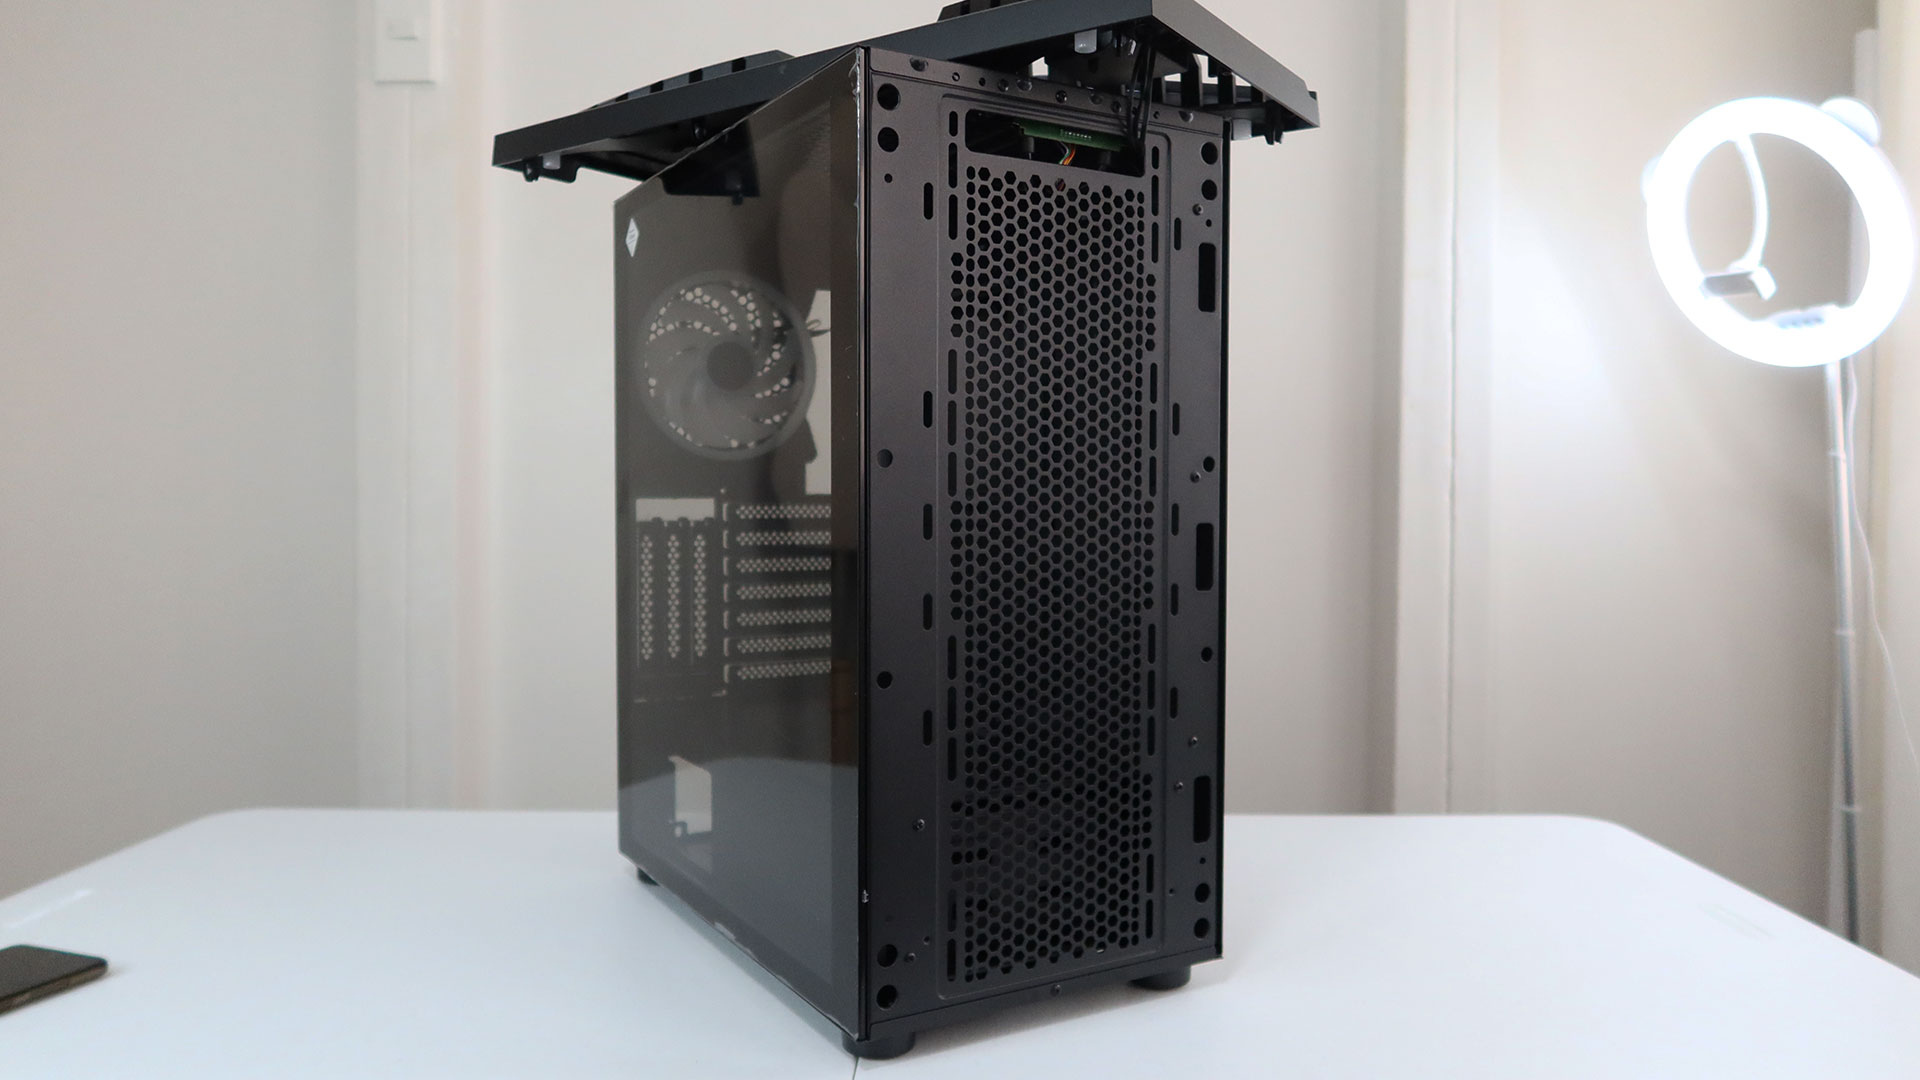
As previously mentioned, the Cronus comes with a tempered glass side panel. The glass panel itself is secured to a thin frame. It’s mounted to the case with tabs near the front and thumb screws at the rear of the case. There’s no rail at the bottom of the case to stop the panel from sliding off the edge of the narrow lip where it sits on, so a bit of caution has to be taken when removing or installing the glass side panel. On the other side of the case is just a plain, smooth metal panel that similarly slides back and out and is secured with thumb screws.
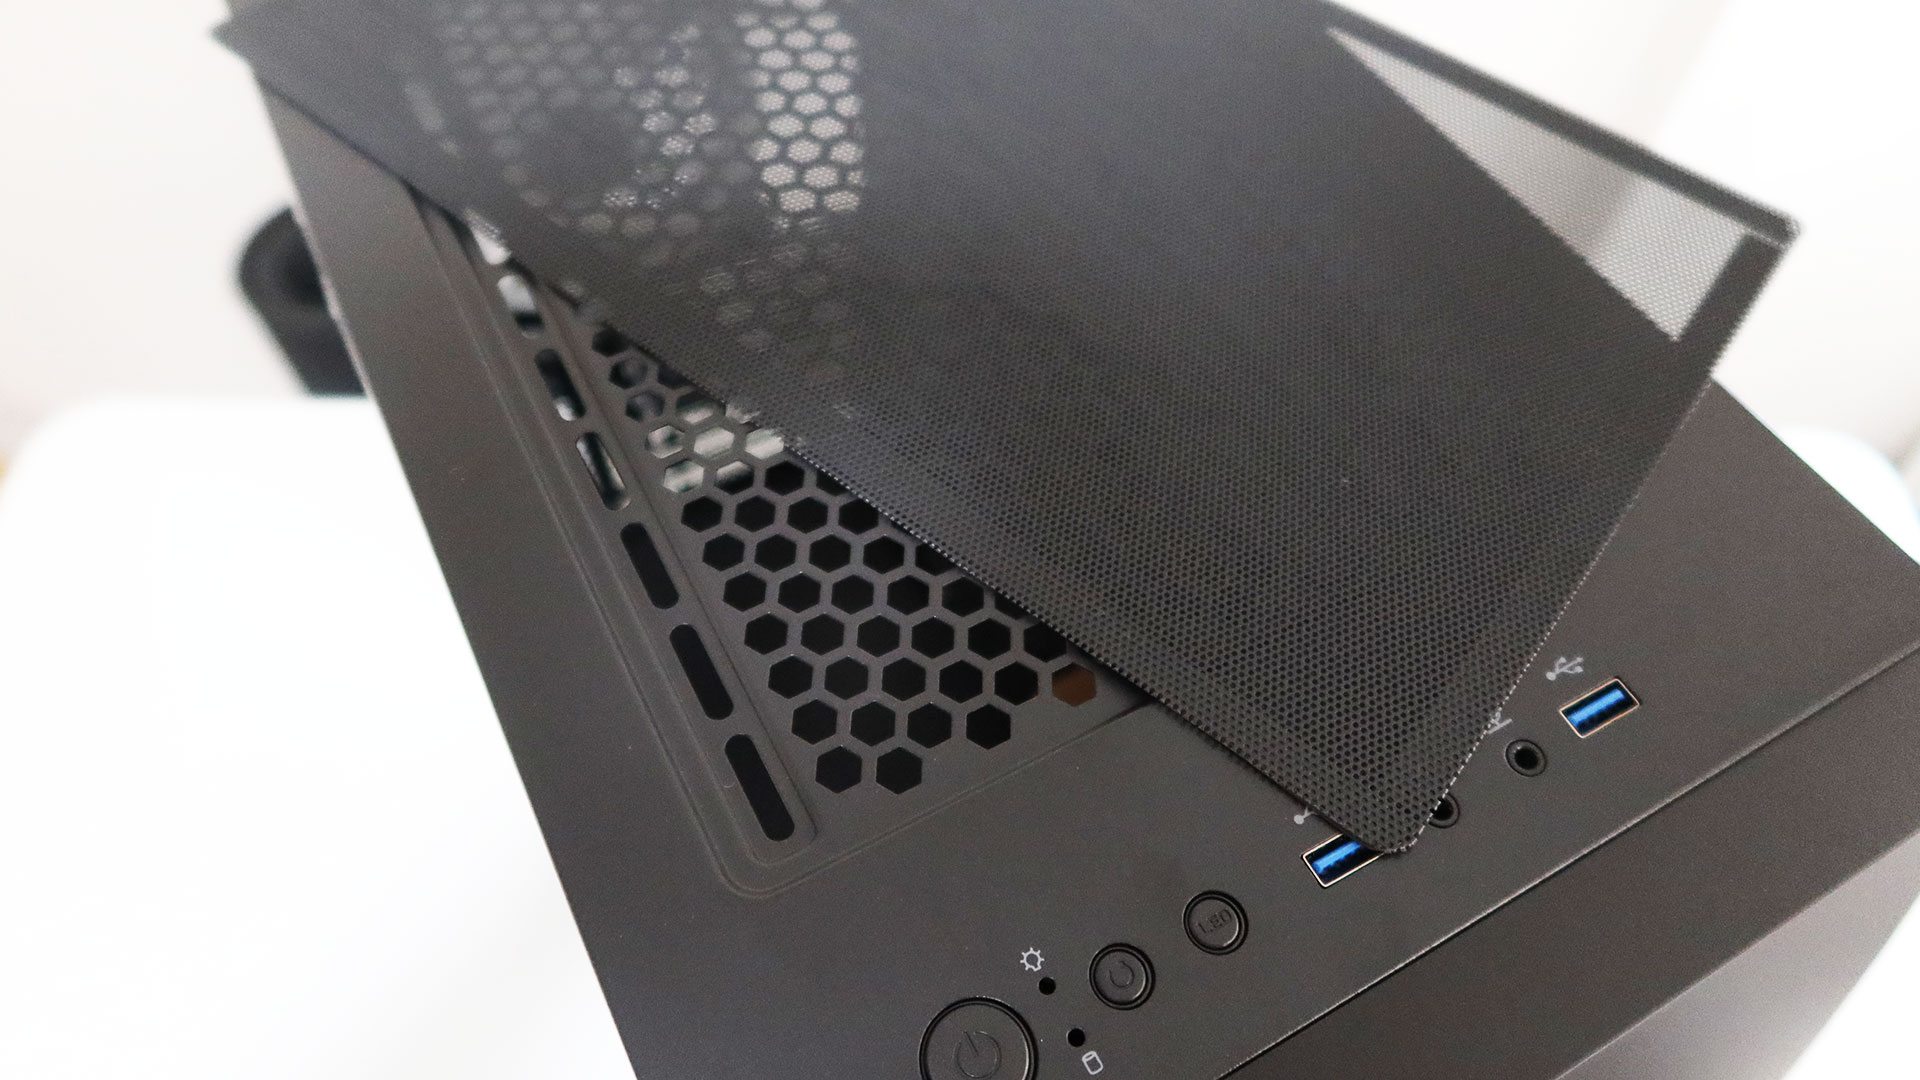
Because of its very busy front panel, the front I/O, LED indicators, and buttons of the Cronus are located on its top panel. From left to right there’s a large power button, two indicator lights for power and drive operation, a reset button, a dedicated button for controlling the case’s built-in LED lighting, a USB 3.0 Type-A port, a 3.5mm headphone jack, a 3.5mm microphone jack, and another USB 3.0 Type-A port. The top panel also has a large perforated area where fans can be installed. Unlike the front panel, the top panel comes with a magnetic dust filter.

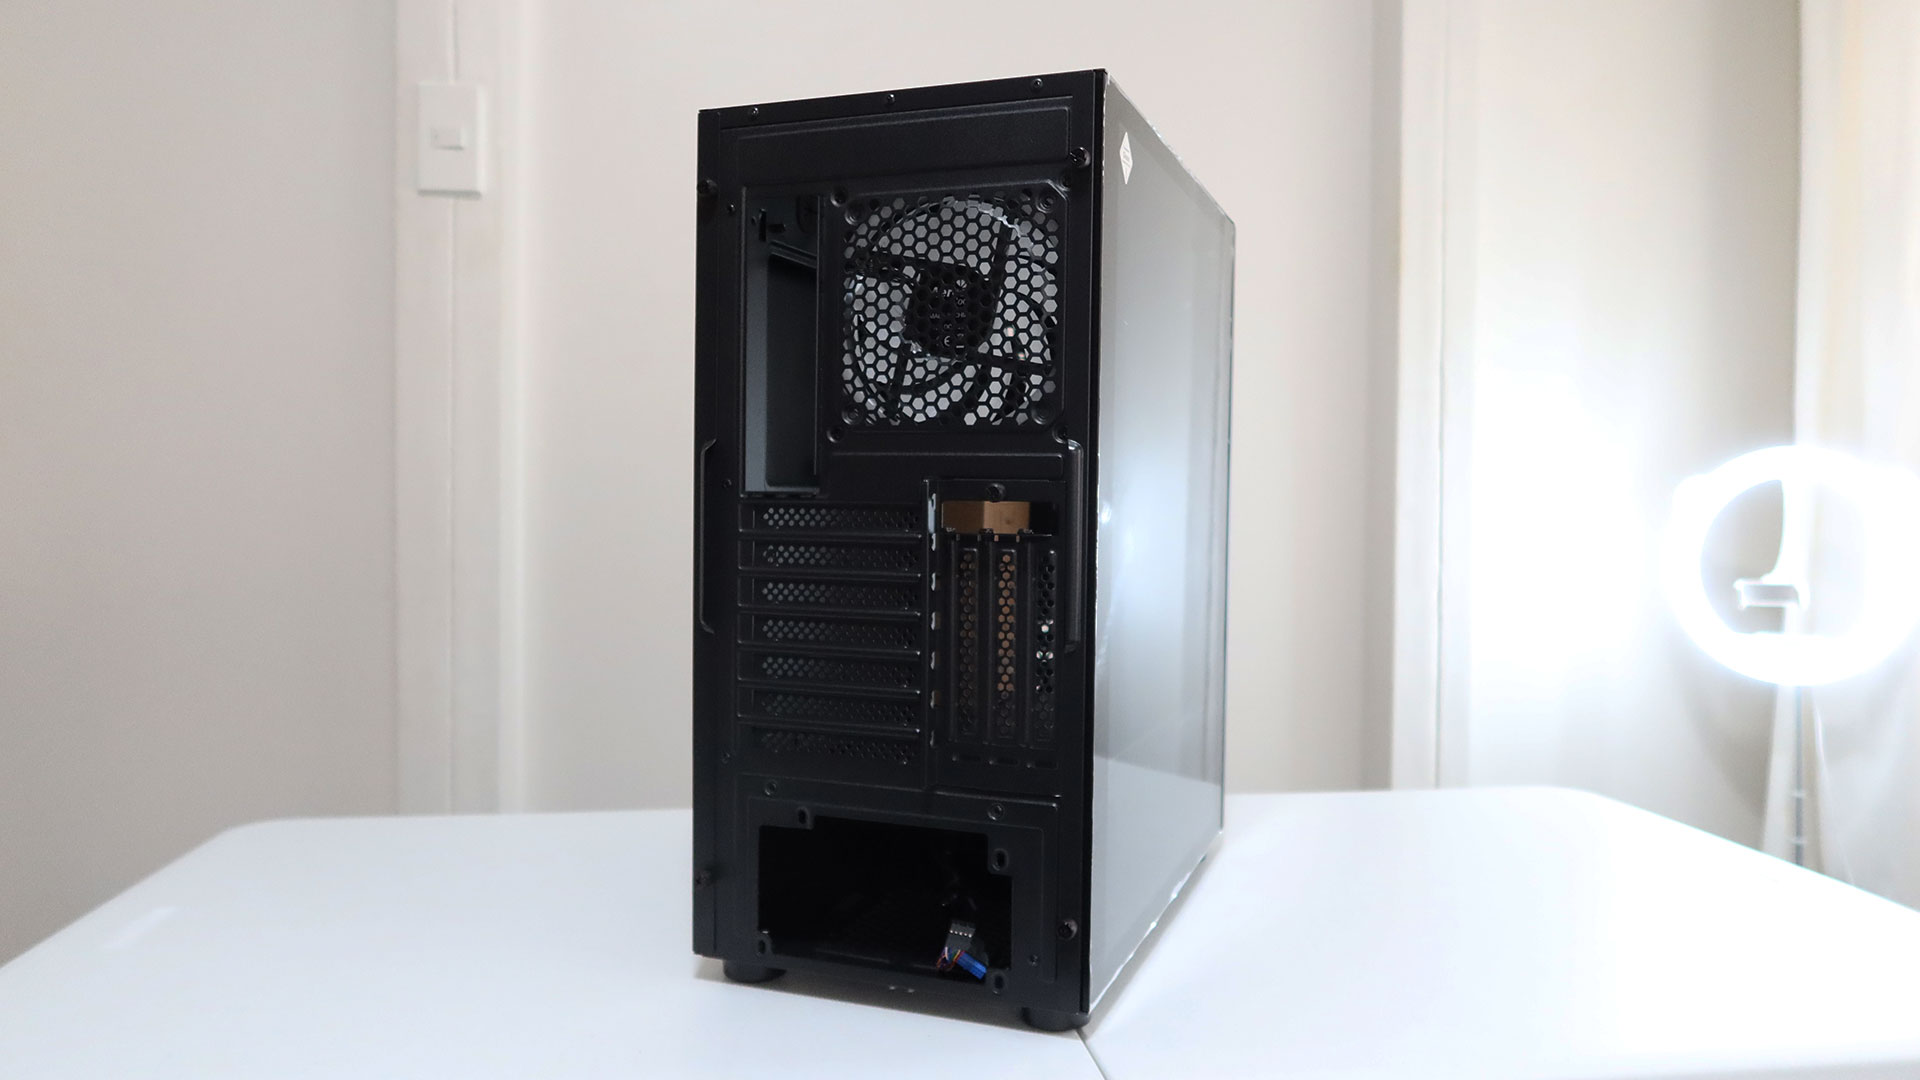
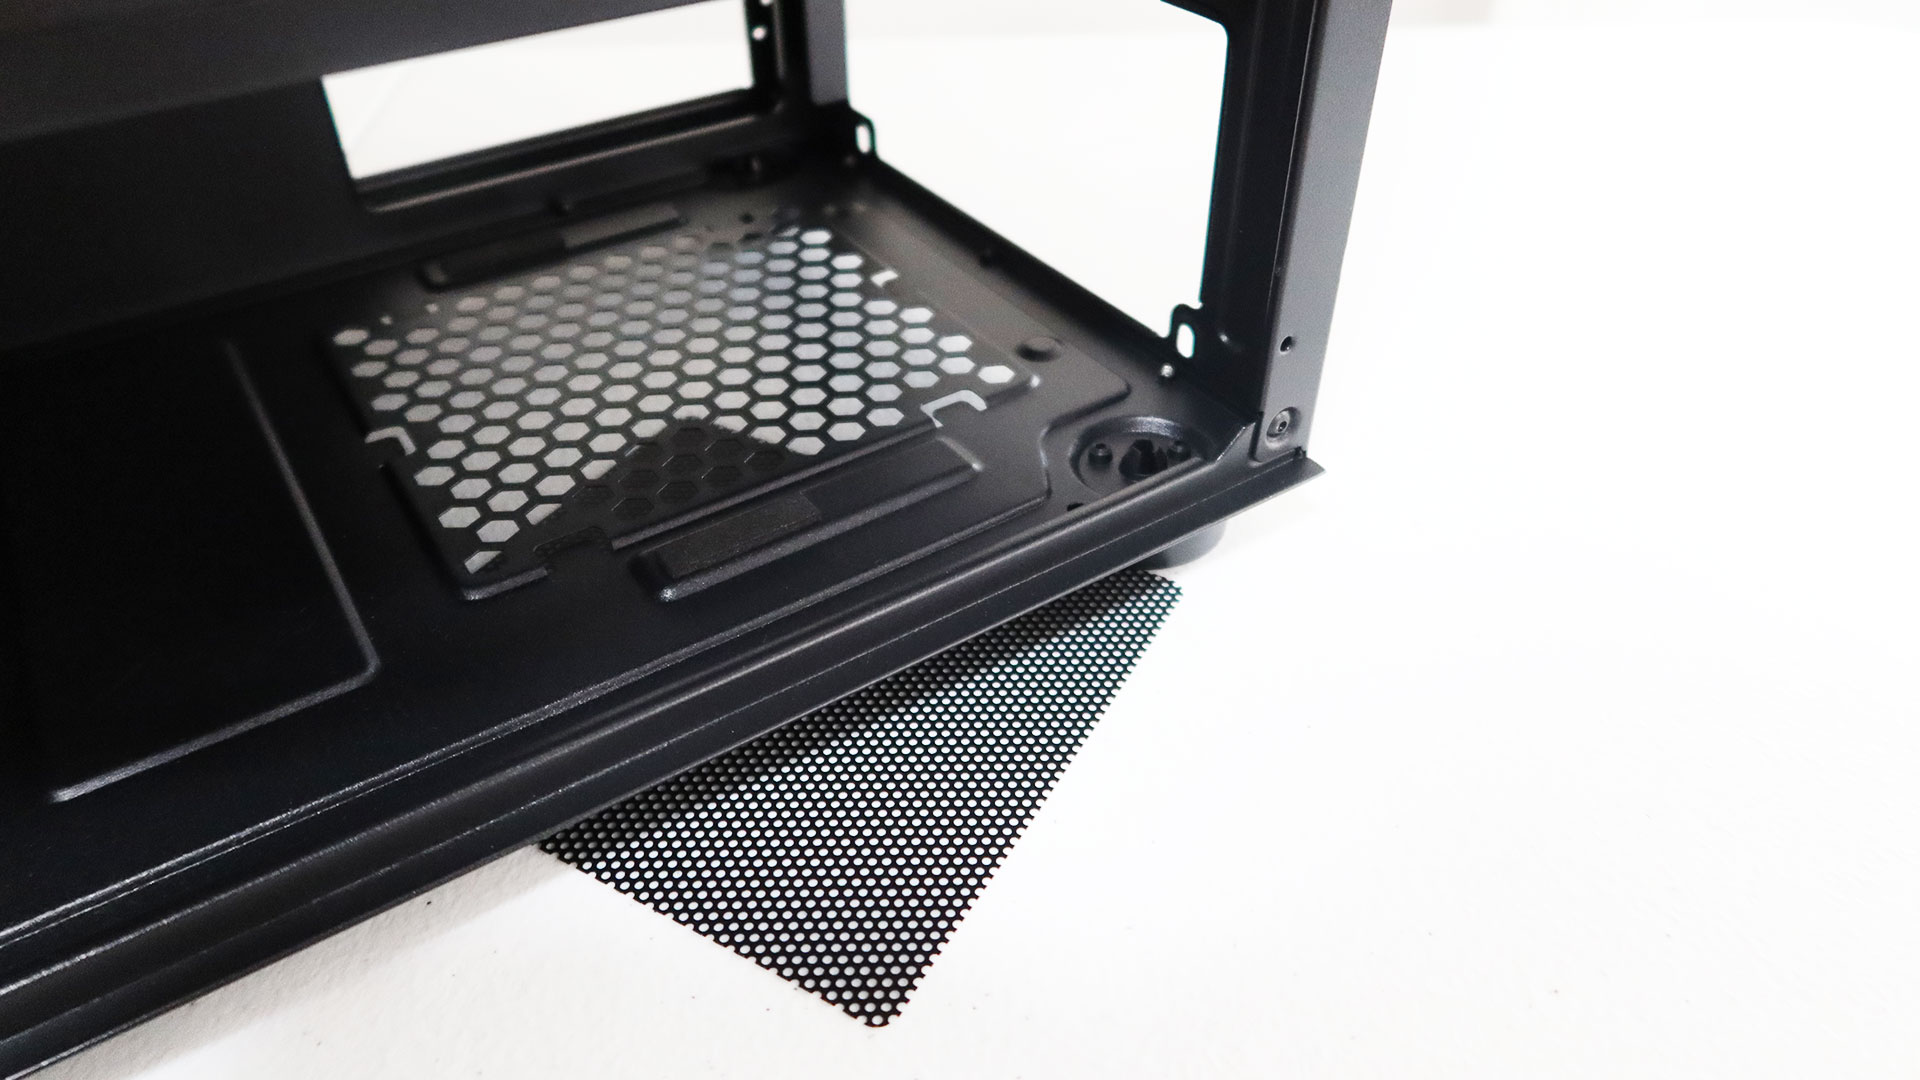
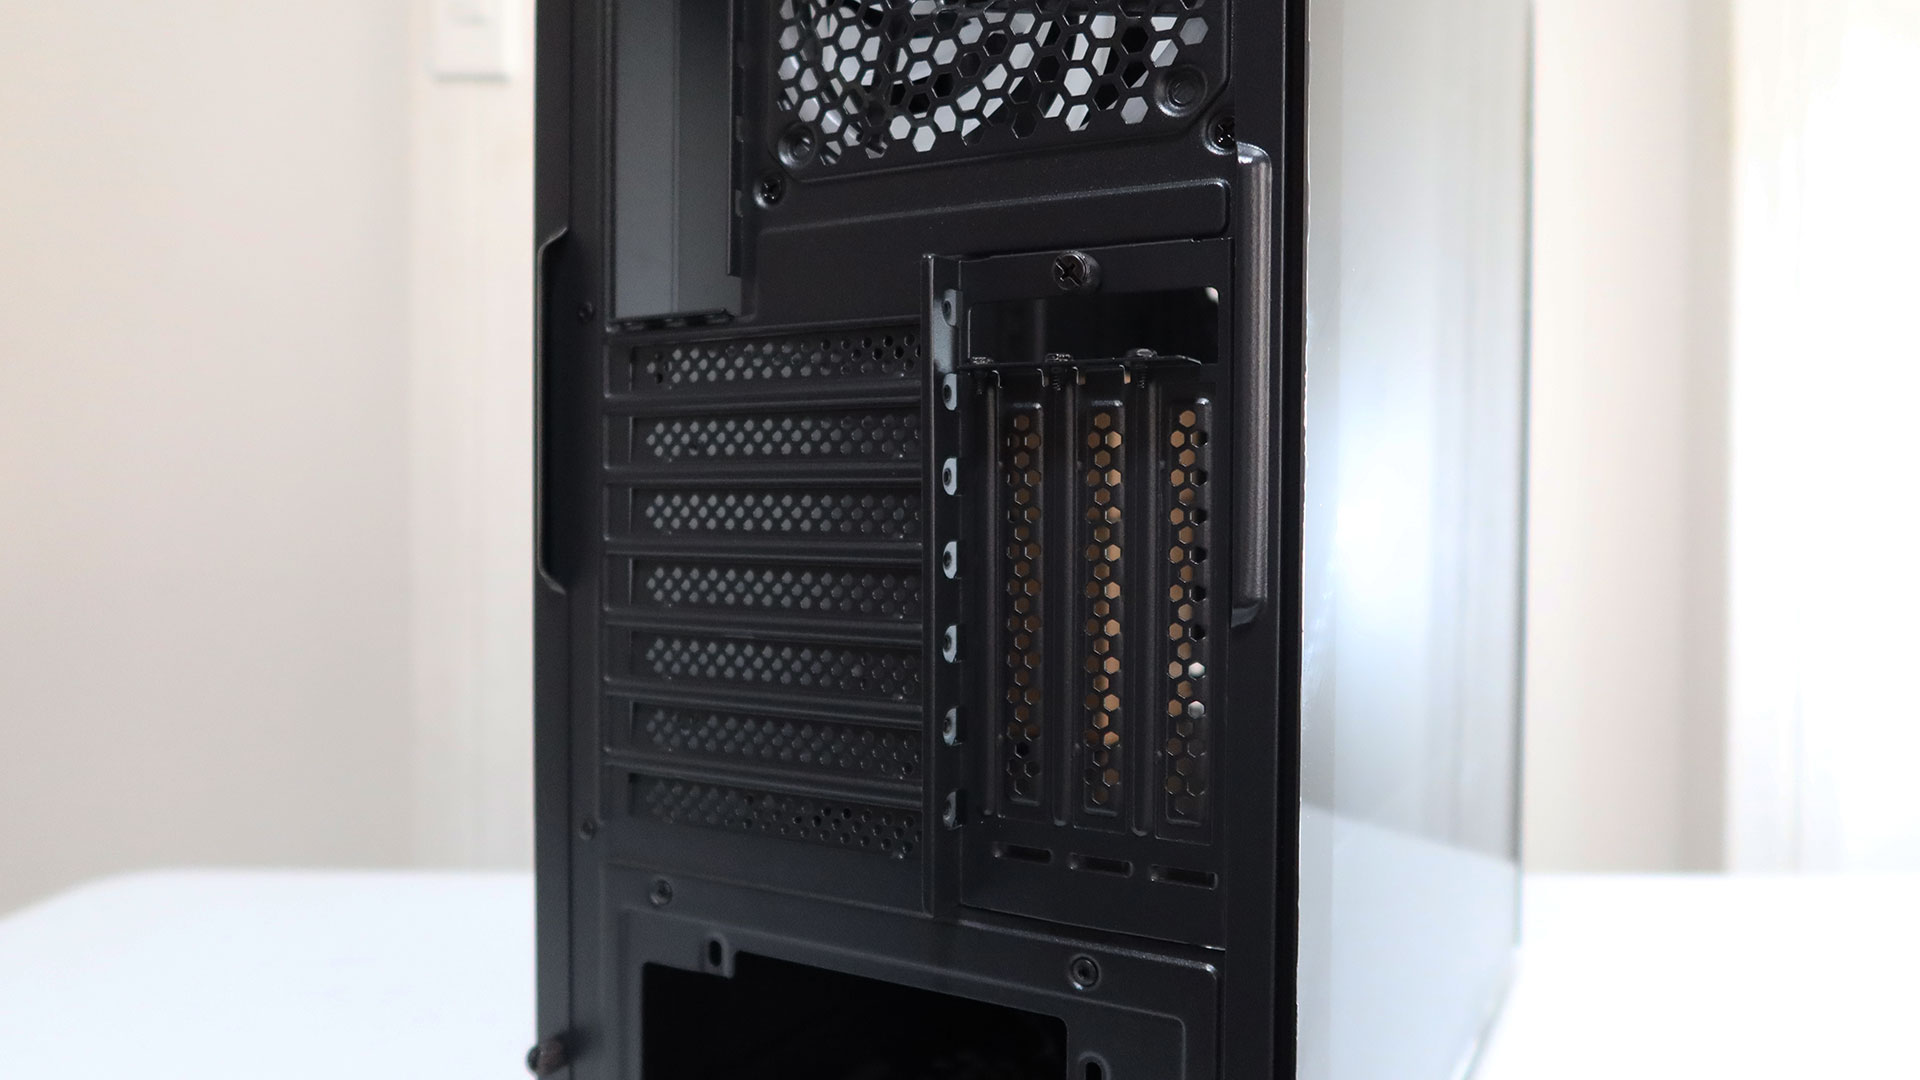
The rear of the Cronus features cutouts for the motherboard I/O and PSU, the mount for the rear fan, seven horizontal expansion slots, and three vertical expansion slots. Cases at this price don’t usually come with vertical expansion slots so the Cronus having them is a great bonus. Lastly, the bottom of the case has a perforated area protected with a detachable dust filter for the PSU fan. The screws that secure the 3.5-inch drive cage can also be found at the bottom of the case.
Interior Features
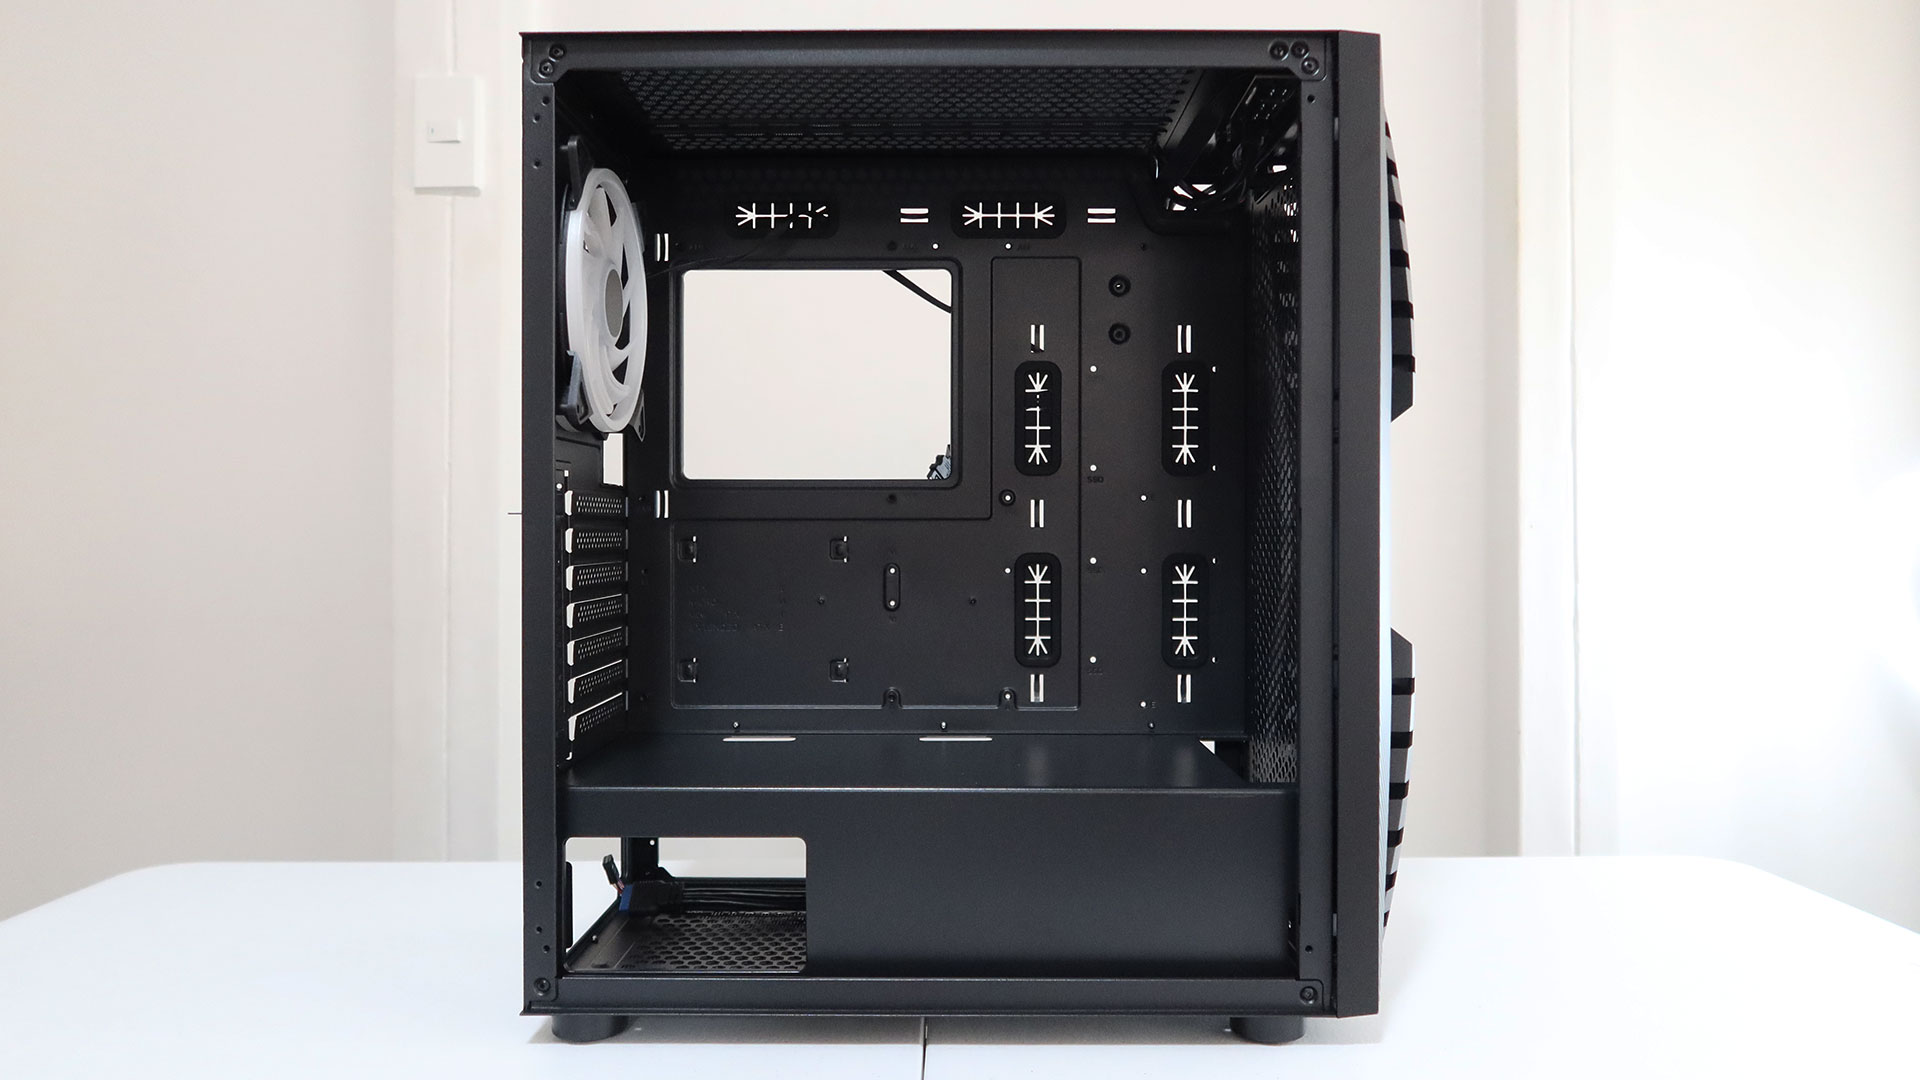
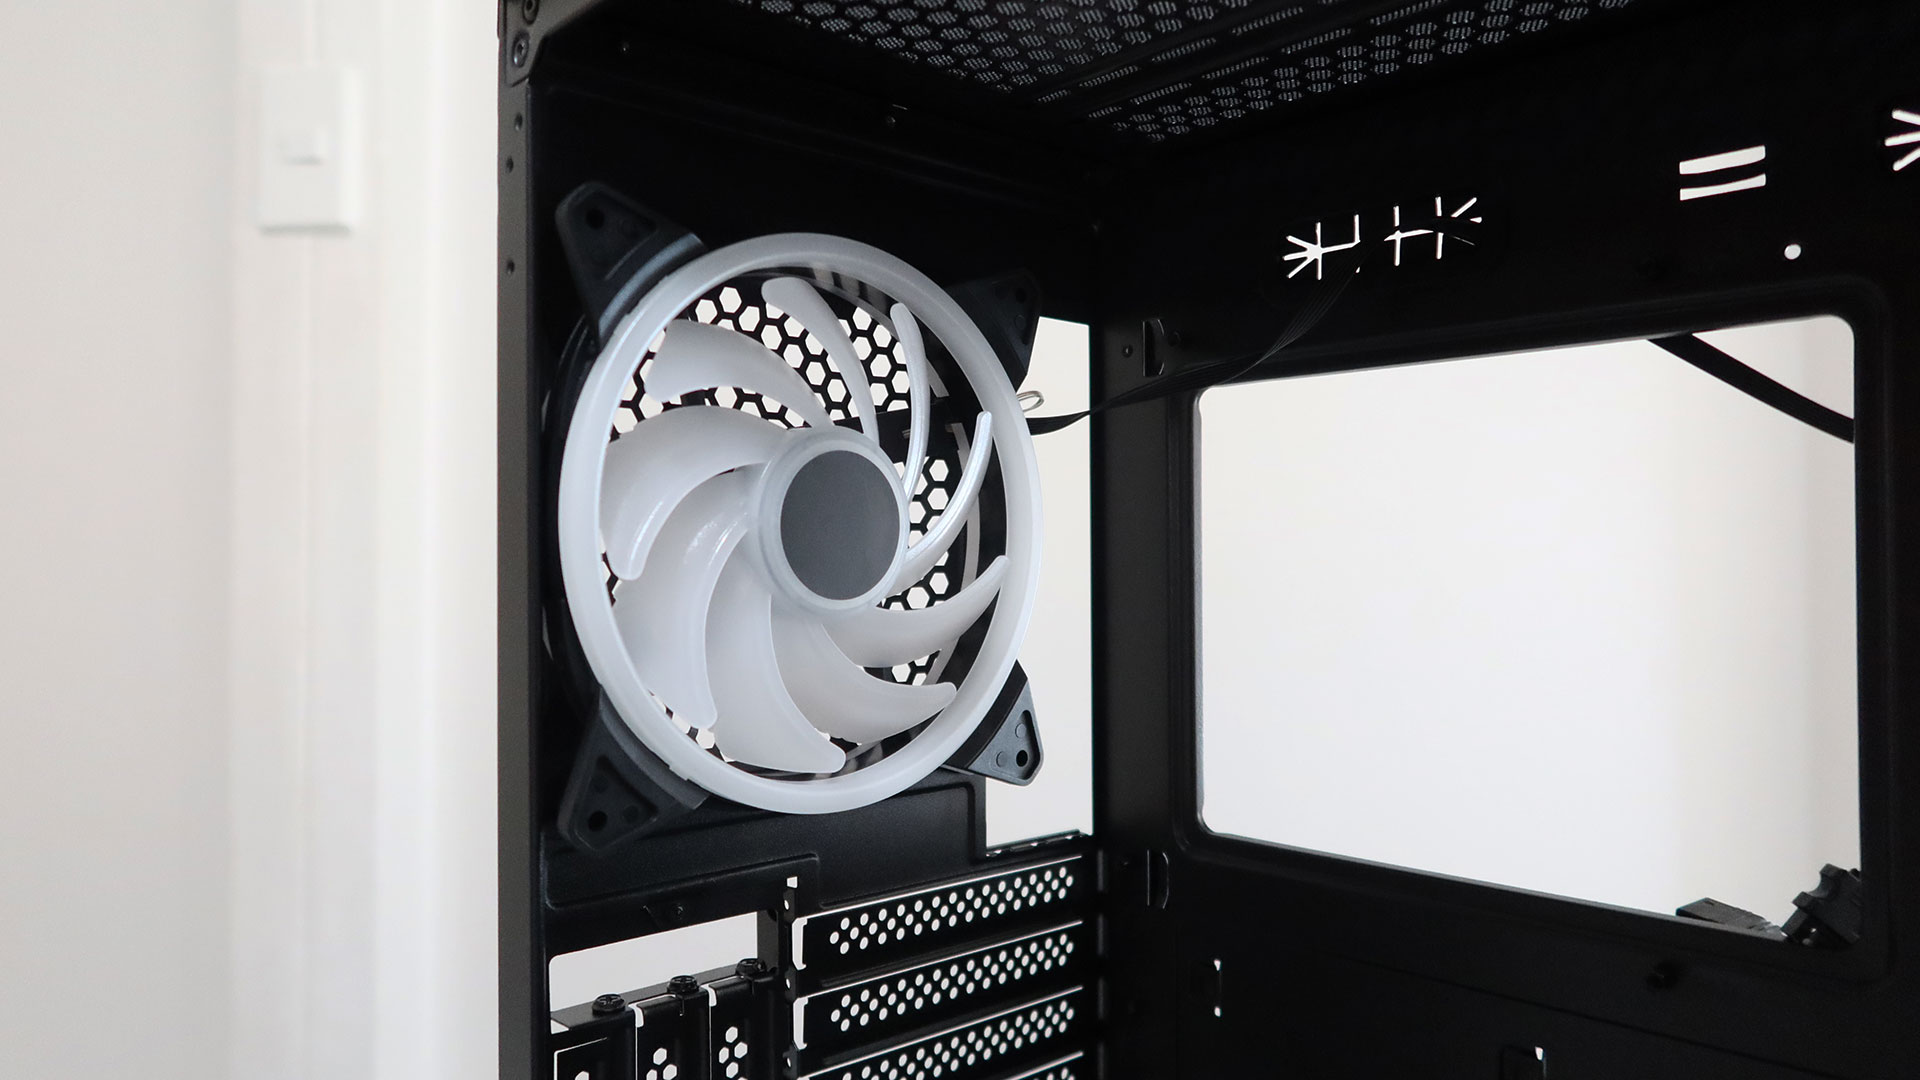
The interior of the Cronus has a lot going on. Apart from the included 140mm ARGB fan at the rear of the case, users have several other cooling options for the Cronus. The case can support up to a 240mm radiator at the front of the case and either up to three 120mm or two 140mm fans. Interestingly, there’s a cut out on the PSU shroud that makes it look like a 360mm could fit but it’s so narrow that there’s not enough space for both a radiator and a fan.
The top of the case can also support up to a 240mm radiator and up to two 120mm or 140mm fans without much issue with clearance unless you use a thicker radiator. Going back to the rear of the case, users can choose to replace the included fan with a 120mm radiator and fan or a different 120mm or 140mm fan.
The PSU shroud of the Cronus covers all of the bottom of the case, apart from the aforementioned cutout at the front as well as another cutout on its side to showcase the PSU’s branding or RGB lighting, if any. To utilize the case’s three vertical expansion slots, the included GPU bracket can be switched from a horizontal mount to a vertical mount. The bracket can then be secured to the PSU shroud with the double-sided tape attached to the base of the bracket. Expectedly, the Cronus doesn’t come with a riser cable so you’ll have to buy one separately.
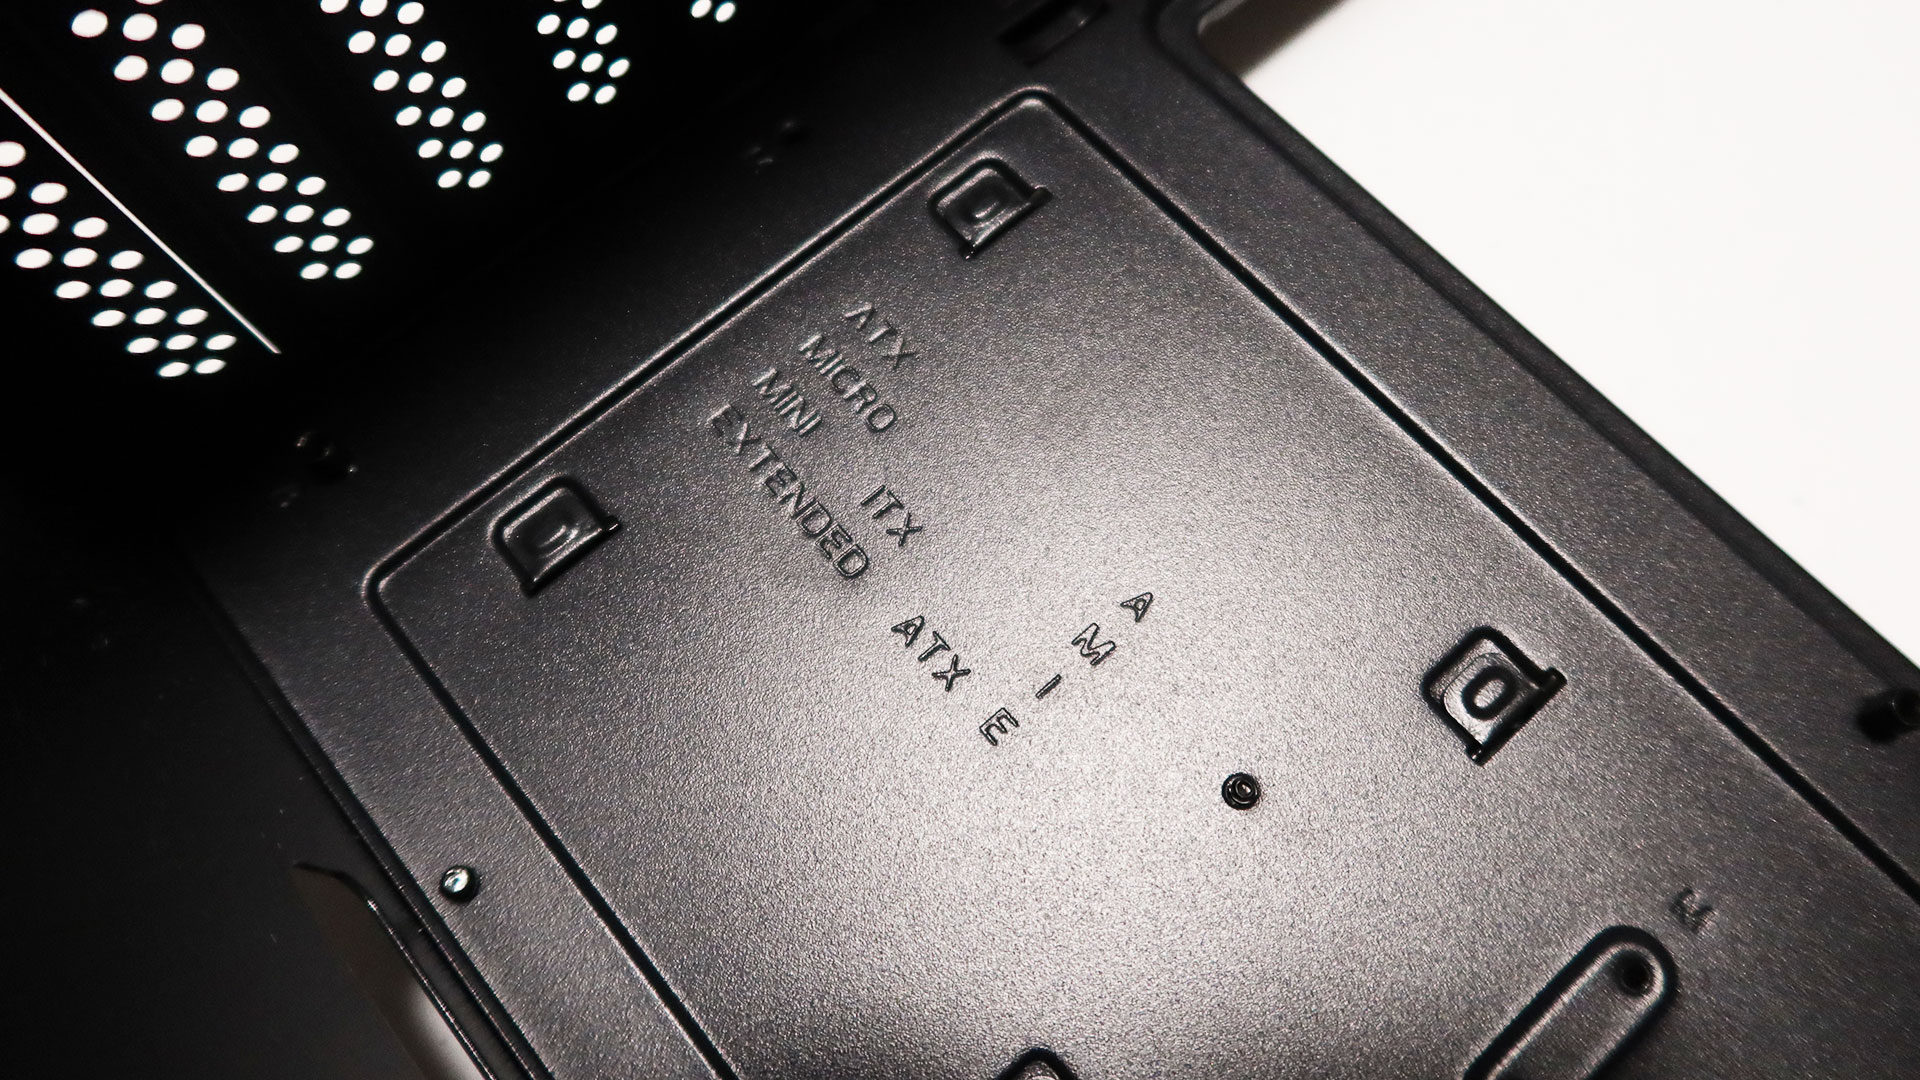
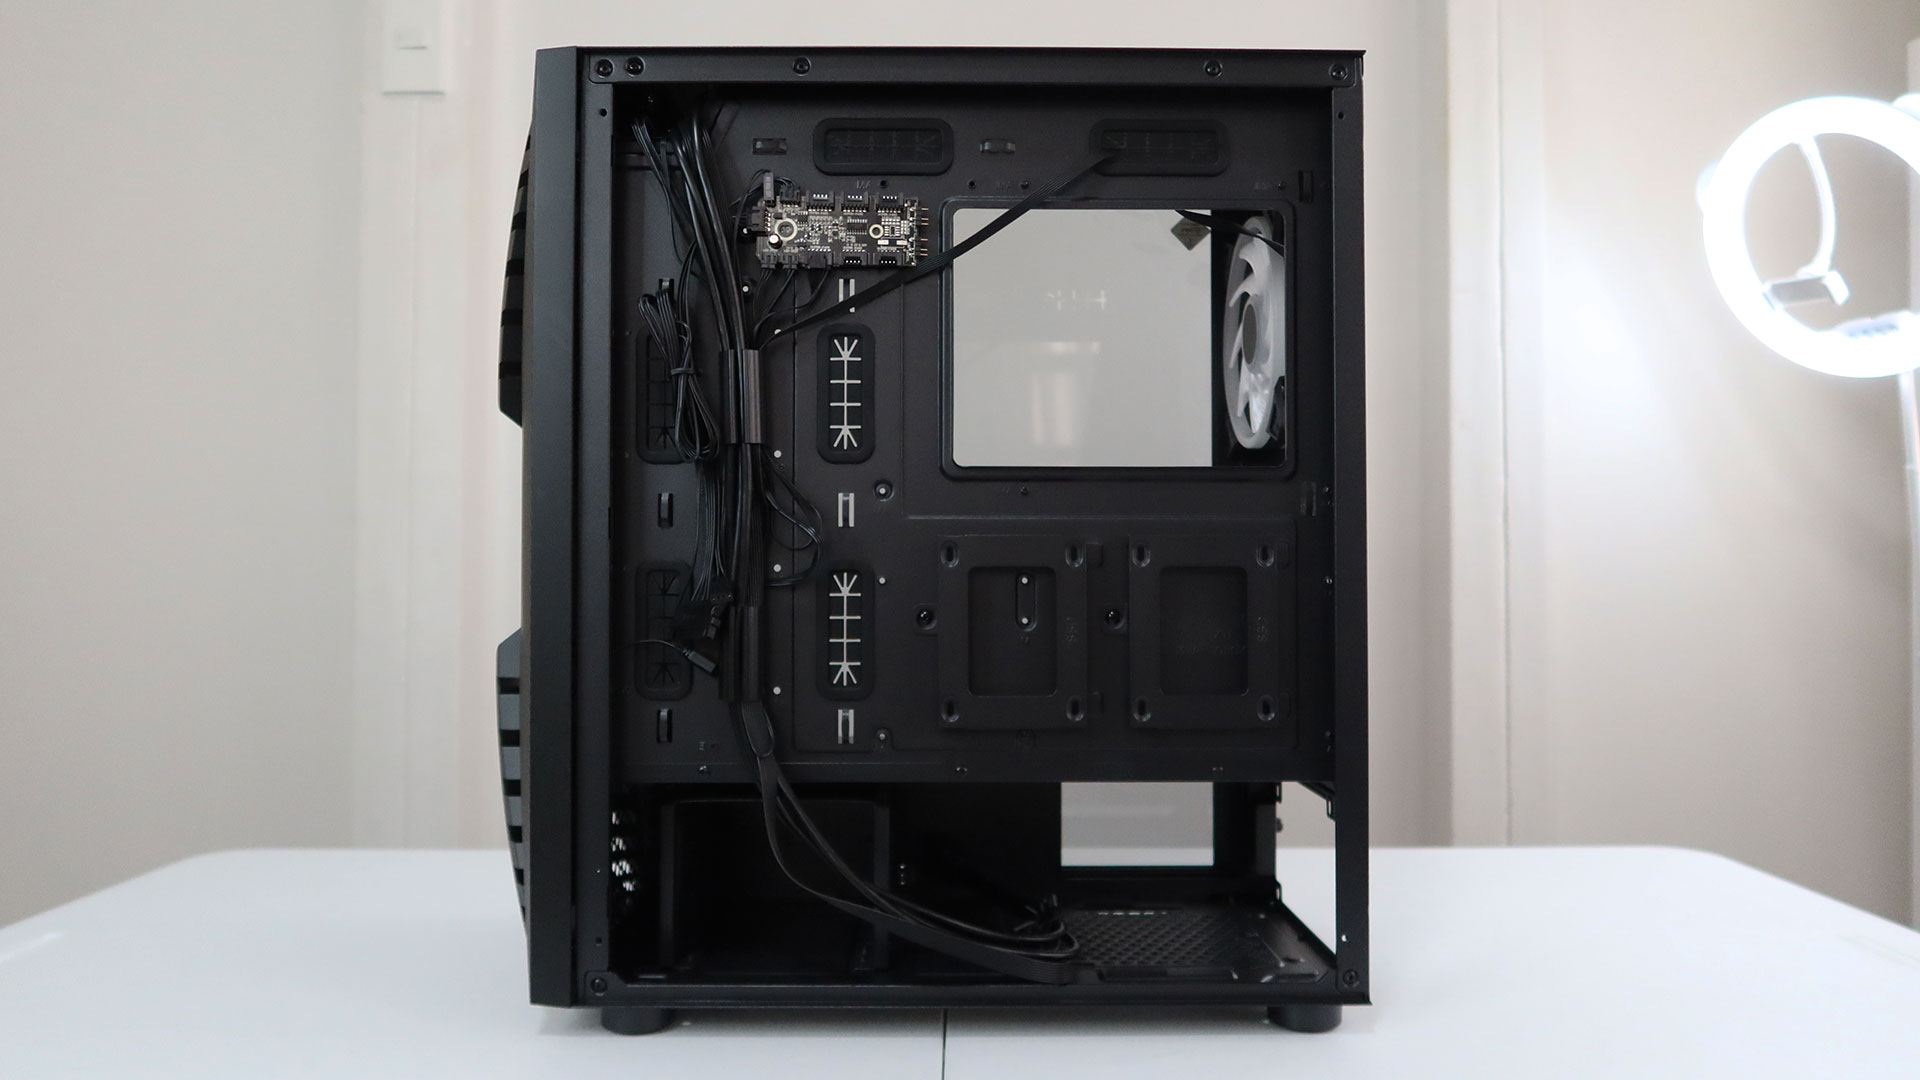
Moving on to the motherboard tray, it features six rubber grommets for cleaner cable routing and management. There are also labeled screw holes for the removable standoffs to accommodate different motherboard sizes from mini-ITX to E-ATX. The tray features a legend to make it easier to tell where to place the standoffs. Furthermore, the interior of the Cronus is spacious enough to support longer, high-end video cards even when a radiator and fan setup is placed at the front of the case, although it’ll still depend on the measurements of all three components.
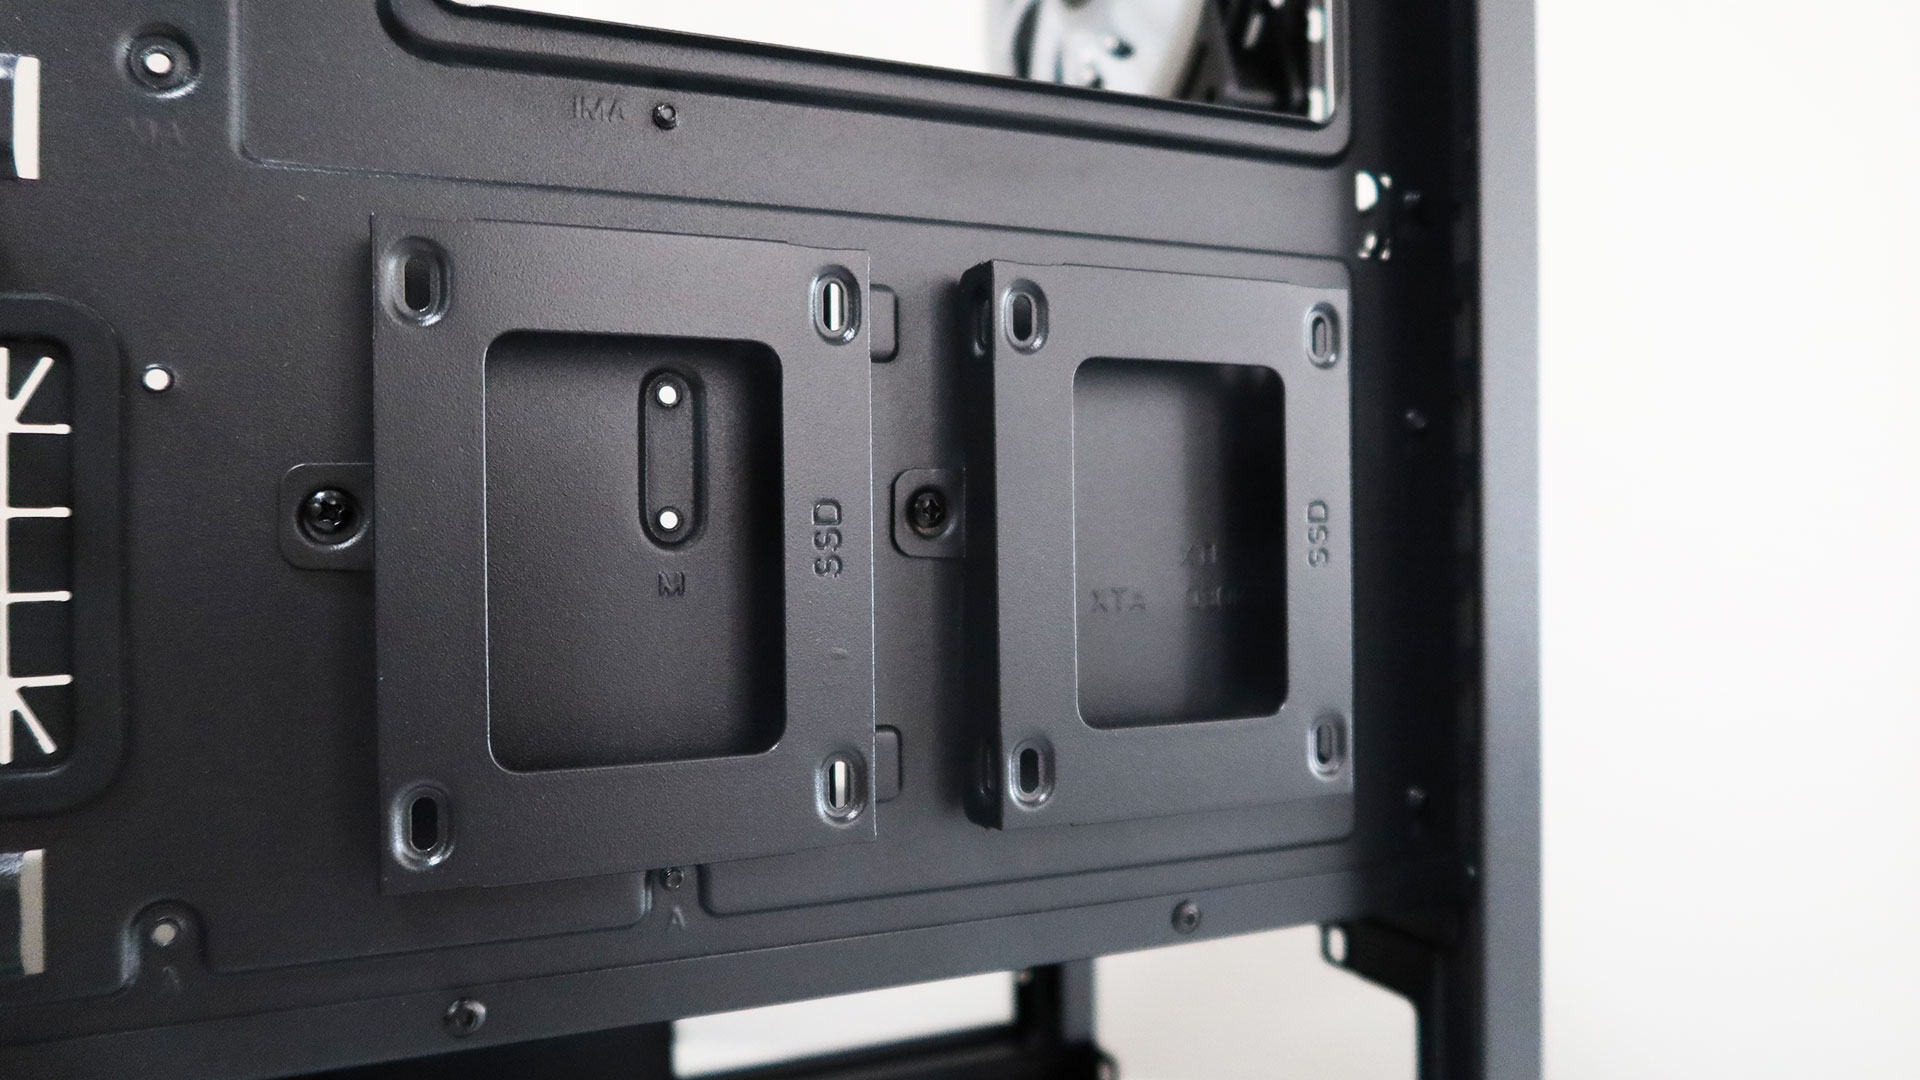
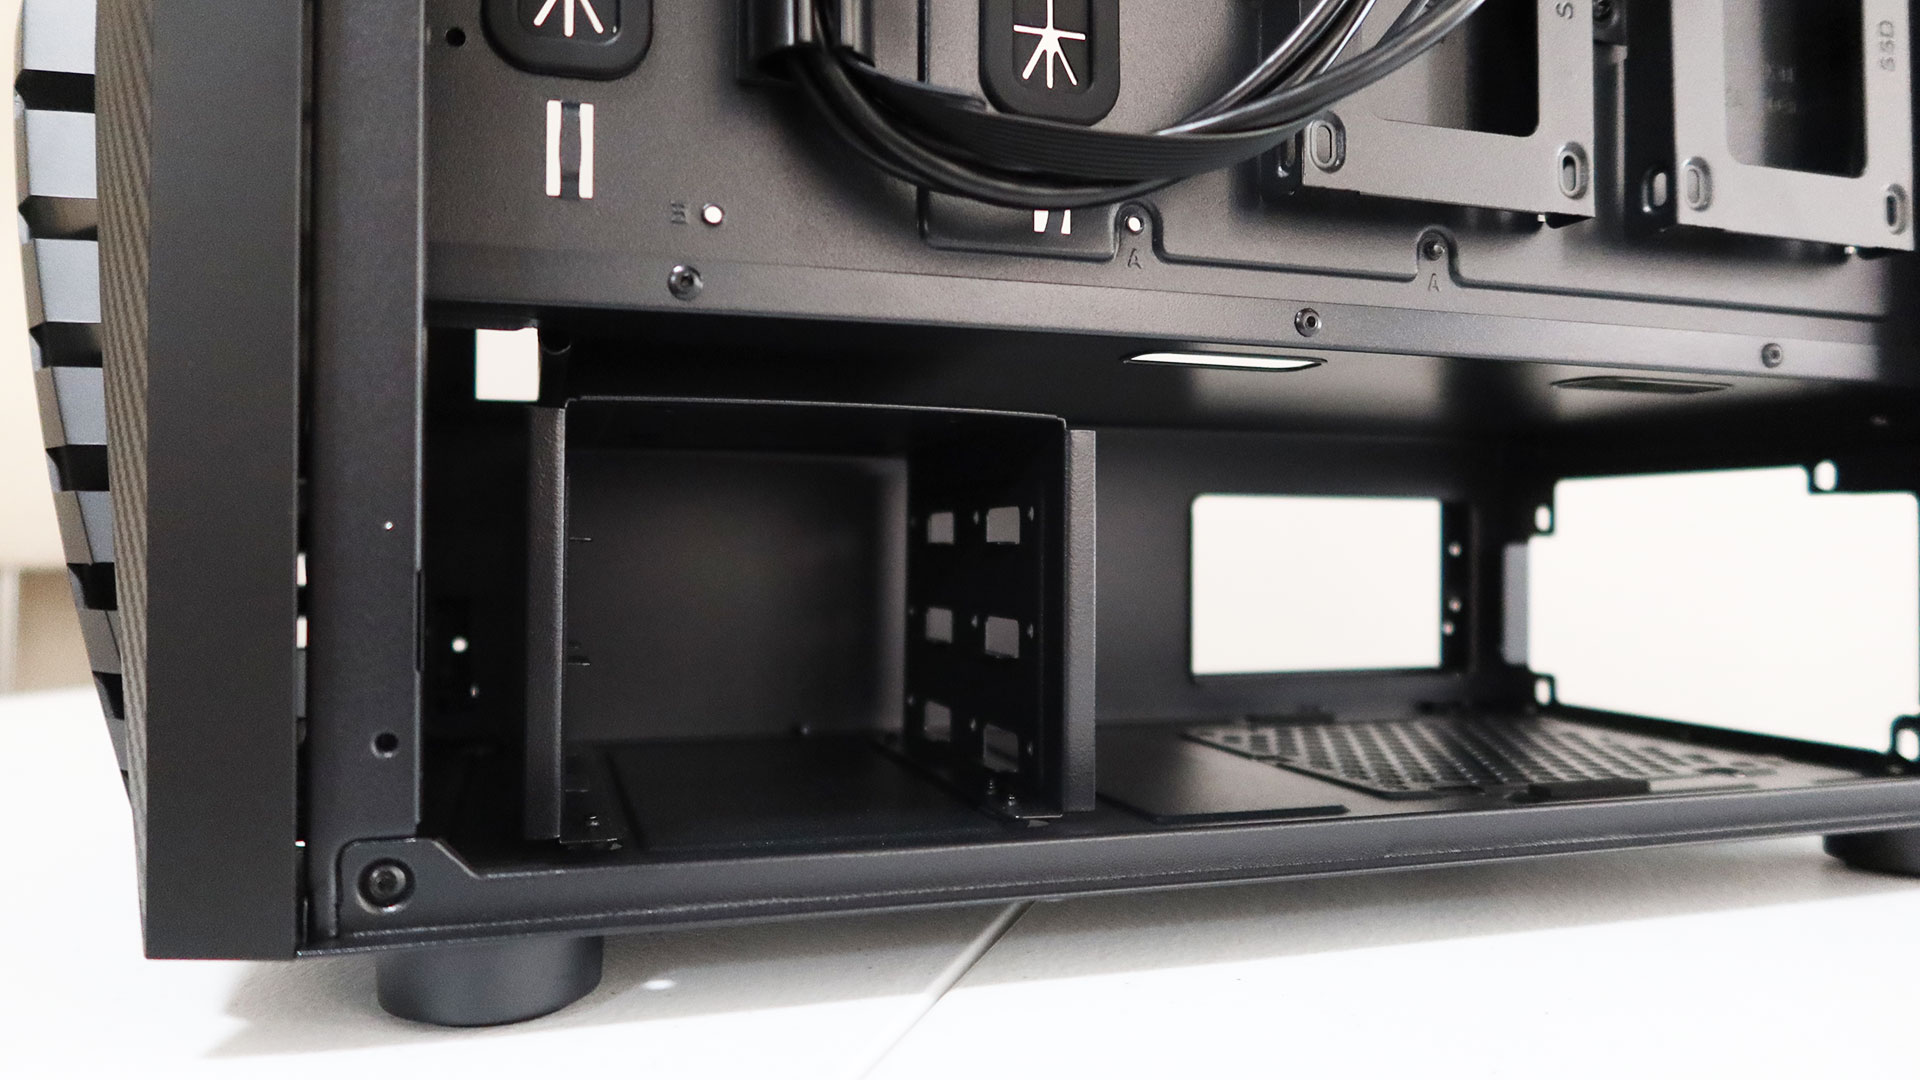
Just like its cooling, the Cronus can accommodate a sizable number of storage devices depending on the configuration. Two 2.5-inch SSDs can be mounted at the front side of the motherboard tray, covering the two rightmost rubber grommets, although these locations won’t be usable when an E-ATX motherboard is mounted in the case. There are also two 2.5-inch SSD trays at the back side of the motherboard tray and the drive cage under the PSU shroud can accommodate up to either three 3.5-inch HDDs or two HDDs and one 2.5-inch SSD.
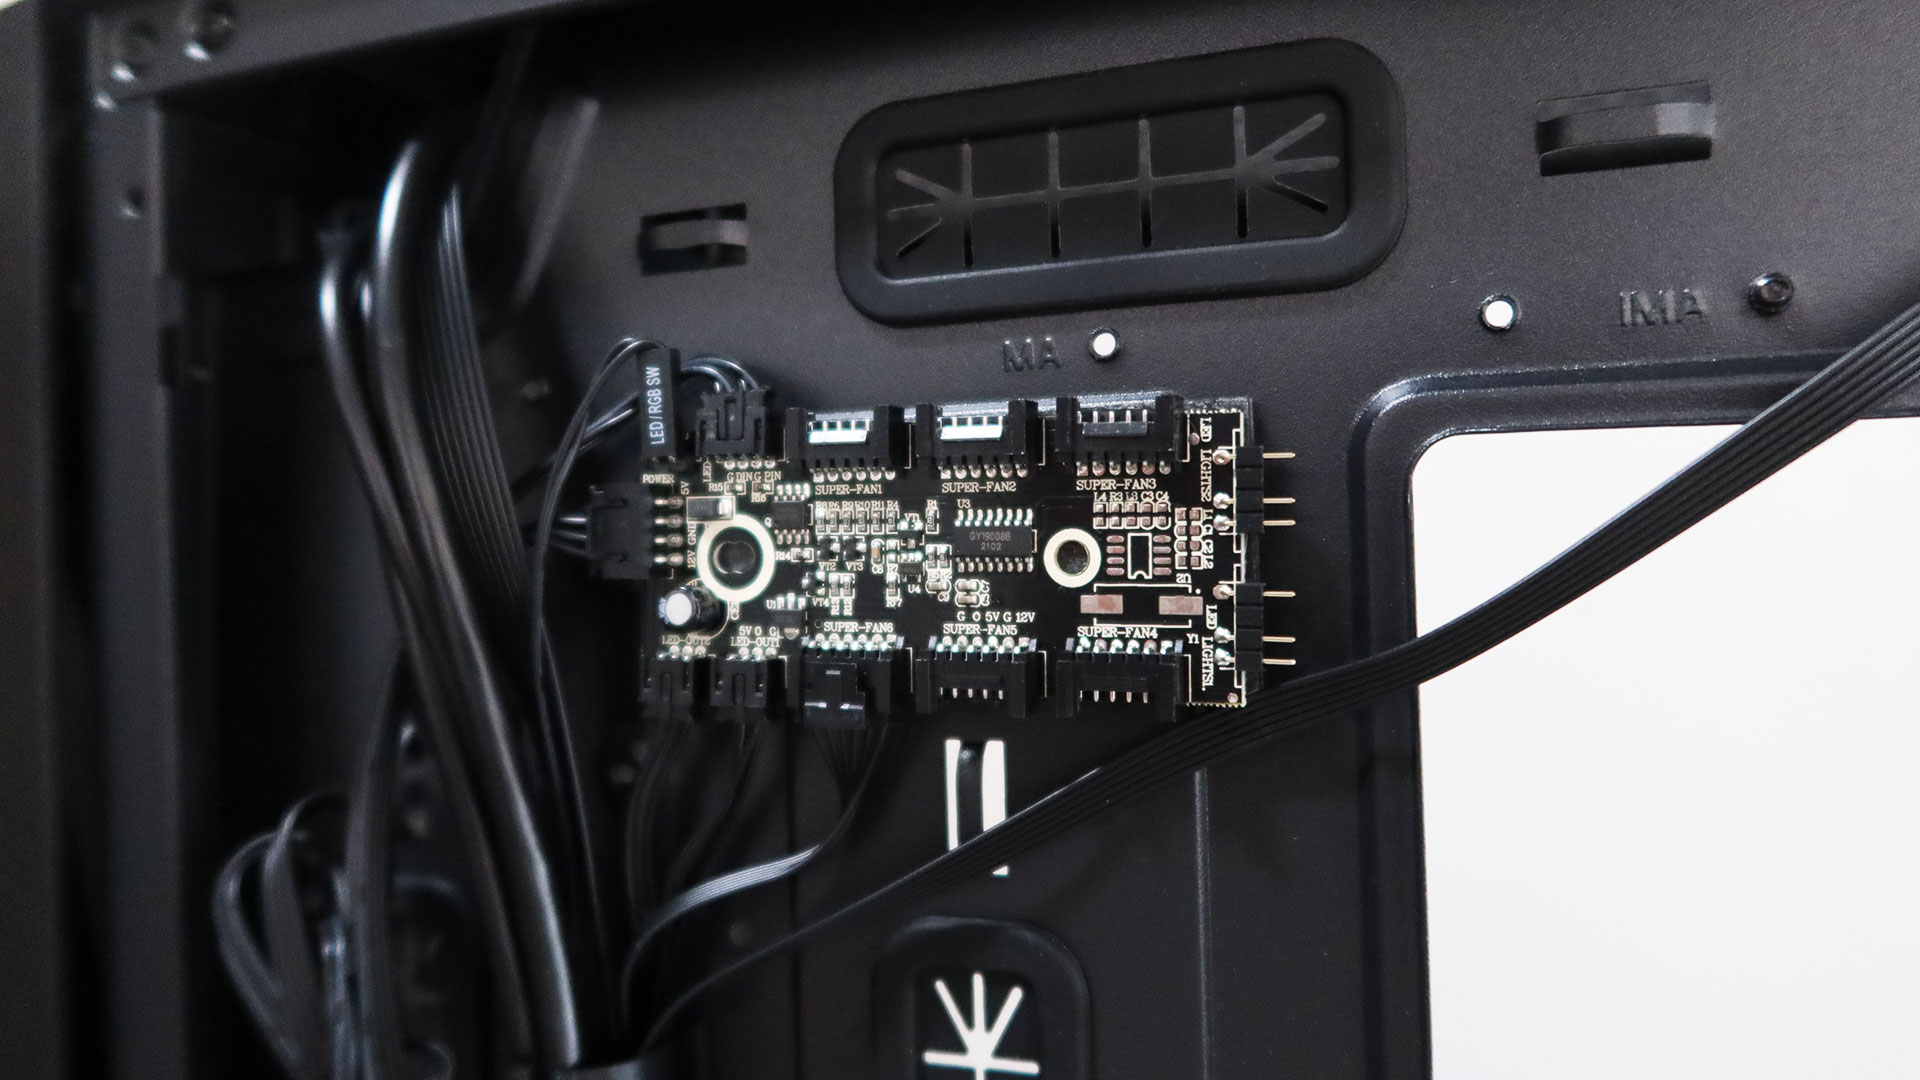
Lastly, the Cronus comes with a built-in fan and LED controller that’s mounted on the back side of the motherboard tray. However, the controller’s six fan headers use a proprietary connector that only works with AeroCool’s own case fan kits. Fortunately, the two extra 5V addressable RGB LED headers use standard 3-pin connectors. This is where the case’s dedicated RGB LED button and built-in RGB lighting is connected to so any ARGB LED components, such as fans or coolers, connected to the controller will have their lighting synced.
Ease of Assembly
We tried building a system with the Cronus and used the following parts for it:
Case: AeroCool ThunderX3 Cronus ARGB Mid Tower
Motherboard: ASUS ROG ROG Strix X570-E Gaming
CPU: AMD Ryzen 7 3700X
RAM: HyperX FURY DDR4 RGB 16GB DDR4-3200
GPU: GALAX GeForce RTX 2060 EX WHITE
CPU Cooler: Aerocool Mirage 5 ARGB/Aerocool Mirage L240
PSU: Aerocool Lux RGB 750M
Fans: Aerocool Mirage 12 Pro
Note: We used both an air cooler and an AIO for our build, although only the air cooler is pictured.
Disassembling the Cronus is fairly easy. Both side panels are easily removed by taking out the thumb screws at the rear of the case. Only the front panel is a bit tricky to remove as the clips attaching it to the chassis are pretty tight and you have to keep the cables for the built-in RGB LED lighting in mind. Once disassembled, installing all of the internal components into the Cronus is pretty typical and straightforward apart from screwing in the motherboard standoffs into the appropriate locations depending on the size of the motherboard you’re using.
Surprisingly, the expansion slot covers of the Cronus aren’t reattachable, so either only remove the ones that will be needed for your build or purchase third-party covers for the unused but opened slots. The HDD cage can be removed by loosening the screws at the bottom of the case and sliding it out of the slot, making it easier to properly install HDDs.
Once all the components are installed, users can utilize the included rubber grommets, cable routing tubes, the velcro straps, and the case’s many cable tie points for proper cable management. There’s easily enough space behind the motherboard tray, around 2.6cm, to route and arrange the cables cleanly.
Conclusion
The AeroCool ThunderX3 Cronus ARGB mid tower case offers pretty decent value, with its large size, array of features, and relatively affordable price tag of PHP 4,950. Apart from the lack of a front filter and its expansion slot covers, there isn’t much to criticize about the Cronus. Furthermore, some of its features help it punch above its weight, including the built-in RGB lighting, vertical expansion slots, multi-form GPU bracket, and its numerous SSD and HDD bays. Those looking for a feature-rich case with a relatively unique design at that PHP 5,000 price bracket may want to consider the AeroCool ThunderX3 Cronus.